In this article
Last night's roast chicken sitting in the fridge doesn't have to become tonight's problem. With 86% of Australian kids bringing lunch from home but only 1.2% getting proper mixed meals, we're missing a massive opportunity to turn dinner leftovers into hot, nutritious thermos lunches.
Related: Winter Thermos Lunches Kids Will Actually Eat
Related: Cost Per Lunchbox Breakdown: Real Australian Spending
Related: Budget Lunchbox Shopping: Aldi vs Coles vs Woolies
Related: Autumn Lunchbox Food Safety: Australia's Forgotten Danger Zone
Related: Bento Box Trend Australia 2026: Why Compartments Beat Brown Bags
Related: School Lunch Cost Australia 2026: Real Spend Breakdown
Related: Lunchbox Costs: How Much Should You Really Spend Per Week?
Related: Insulated Lunch Bags for Kids: Worth It or Waste of Money?
Related: Warm Lunch Ideas for School Autumn: 15 Thermos Recipes
Related: Best Thermos Food Jars for School Australia 2026
Related: Make-Ahead Lunchbox Food That Doesn't Go Soggy
Related: Winter Lunchbox Warmers: 15 Hot Foods That Stay Safe
Related: Do Lunchbox Ice Packs Work? We Tested 6
Related: Autumn Lunchbox Ideas: Warm, Hearty & Easy
Related: Bento Box Buying Guide for Australian Parents 2026
Related: Bento Box Hacks: 5-Minute Assembly for Perfect Portions
Related: School-Provided Lunches Coming to Australia: Parent Guide
Related: 4-Hour Rule: Lunchbox Food Safety Every Parent Needs
Related: How to Sneak Vegetables Into Every Lunchbox
Related: Easter Lunchbox Ideas Kids Love: 15 Quick & Easy
Related: School Lunch Cost Analysis Australia: Budget Breakdown
Related: Stainless Steel vs Plastic Lunchboxes: Real Cost Analysis
Related: Bento Box Assembly Line: Pack 5 Lunches in 20 Minutes
I've been doing this for three years with my two kids, and it's saved us roughly $25 per week compared to school lunch programs while giving them actual nutrition instead of another sandwich. Here's exactly how to transform 25 common dinner leftovers into thermos lunches that stay hot for 6+ hours.
Why Hot Thermos Lunches Solve the Leftover Problem
Time-poor dual-income families face a daily lunch dilemma: spend 15 minutes making fresh lunches every morning, or send another packet of crackers and hope for the best. Hot thermos lunches bridge this gap perfectly.
The numbers tell the story. Australian school lunch programs cost an average of $4.72 per child daily, which adds up to $94.40 per fortnight for two kids. Meanwhile, over 90% of lunchboxes contain energy-dense, micronutrient-poor snacks that leave kids hungry and unfocused by afternoon.
$25
weekly savings using dinner leftovers vs school lunch programs for two children
Tasmania school lunch pilot trial 2020
Based on $4.72 daily cost per child
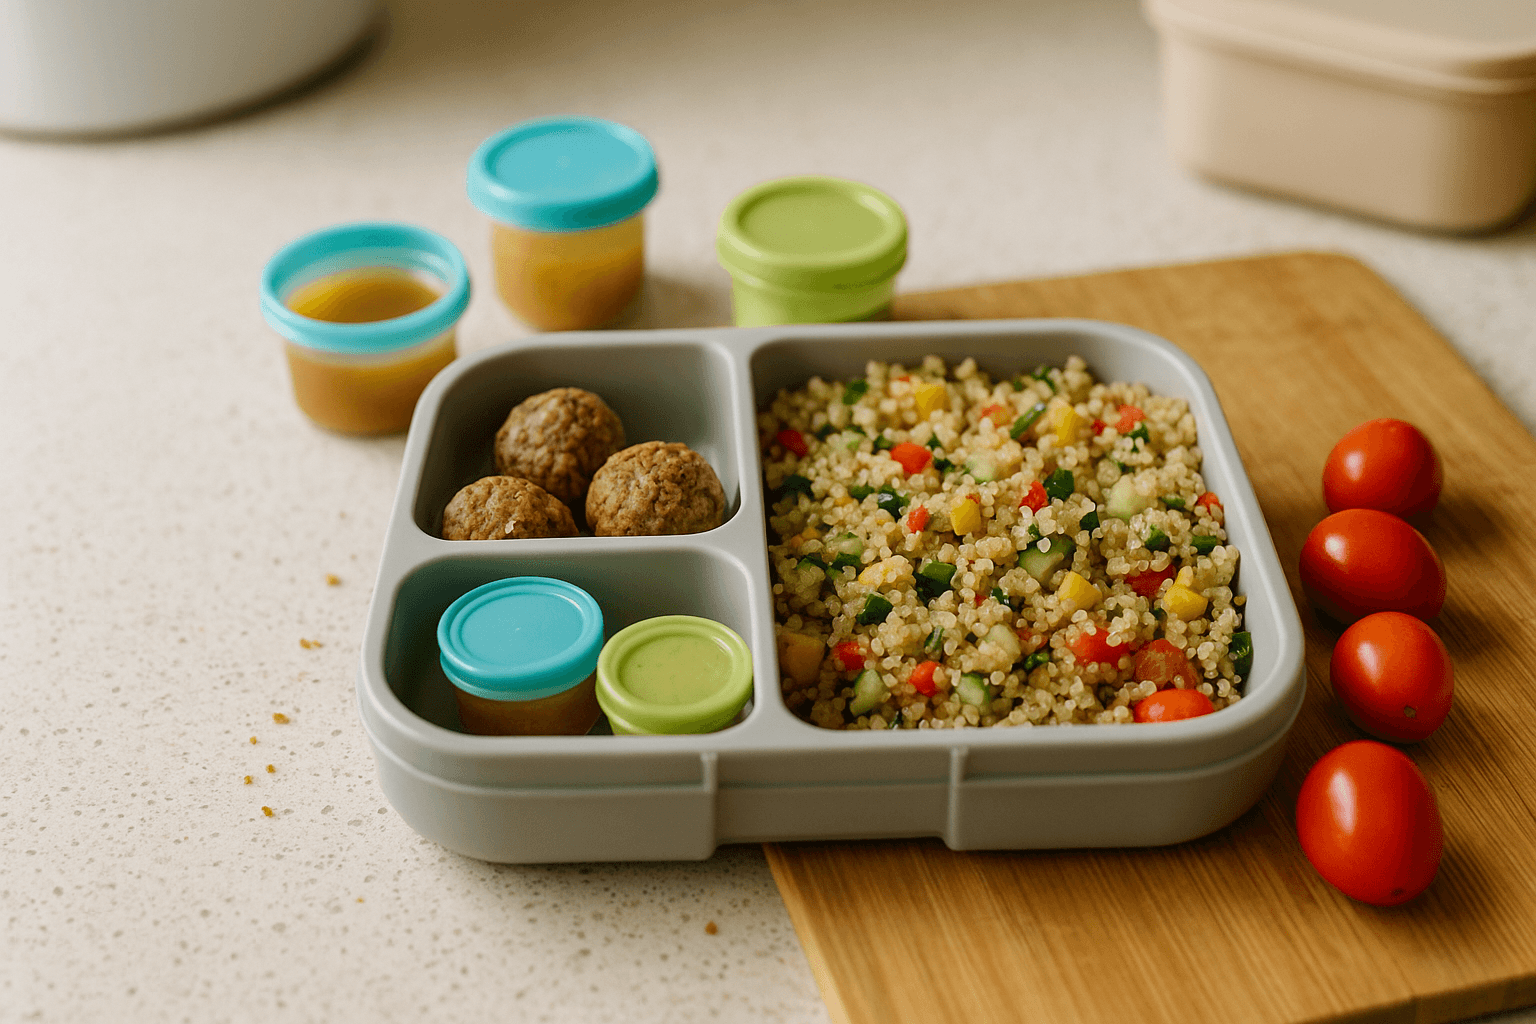
Hot thermos lunches using dinner leftovers solve three problems simultaneously: they're nutritionally complete (protein, vegetables, and carbs), cost-effective (using food you've already bought), and time-efficient (minimal morning prep required).
The key is systematic thinking. Instead of cooking dinner for just tonight, cook with tomorrow's lunch in mind. Make 20% extra pasta sauce, set aside portions before adding final seasonings, and think in containers, not just plates.
Essential Thermos Techniques for 5+ Hour Heat Retention
Most parents fail at thermos lunches because they skip the pre-heating step. Here's the technique that keeps food at safe temperatures from 6:30am packing until 12:30pm lunch break:
Perfect Thermos Pre-heating Method
Fill with boiling water
Pour boiling water to the brim, screw lid tight. Do this while reheating yesterday's dinner.
Wait 10 minutes minimum
Set a timer. This heats the stainless steel walls completely - no shortcuts here.
Empty and fill immediately
Pour out water, immediately add food heated to 75°C. Work quickly to minimise heat loss.
Pack tight and seal
Fill to 80% capacity (not completely full), wipe rim clean, seal firmly.
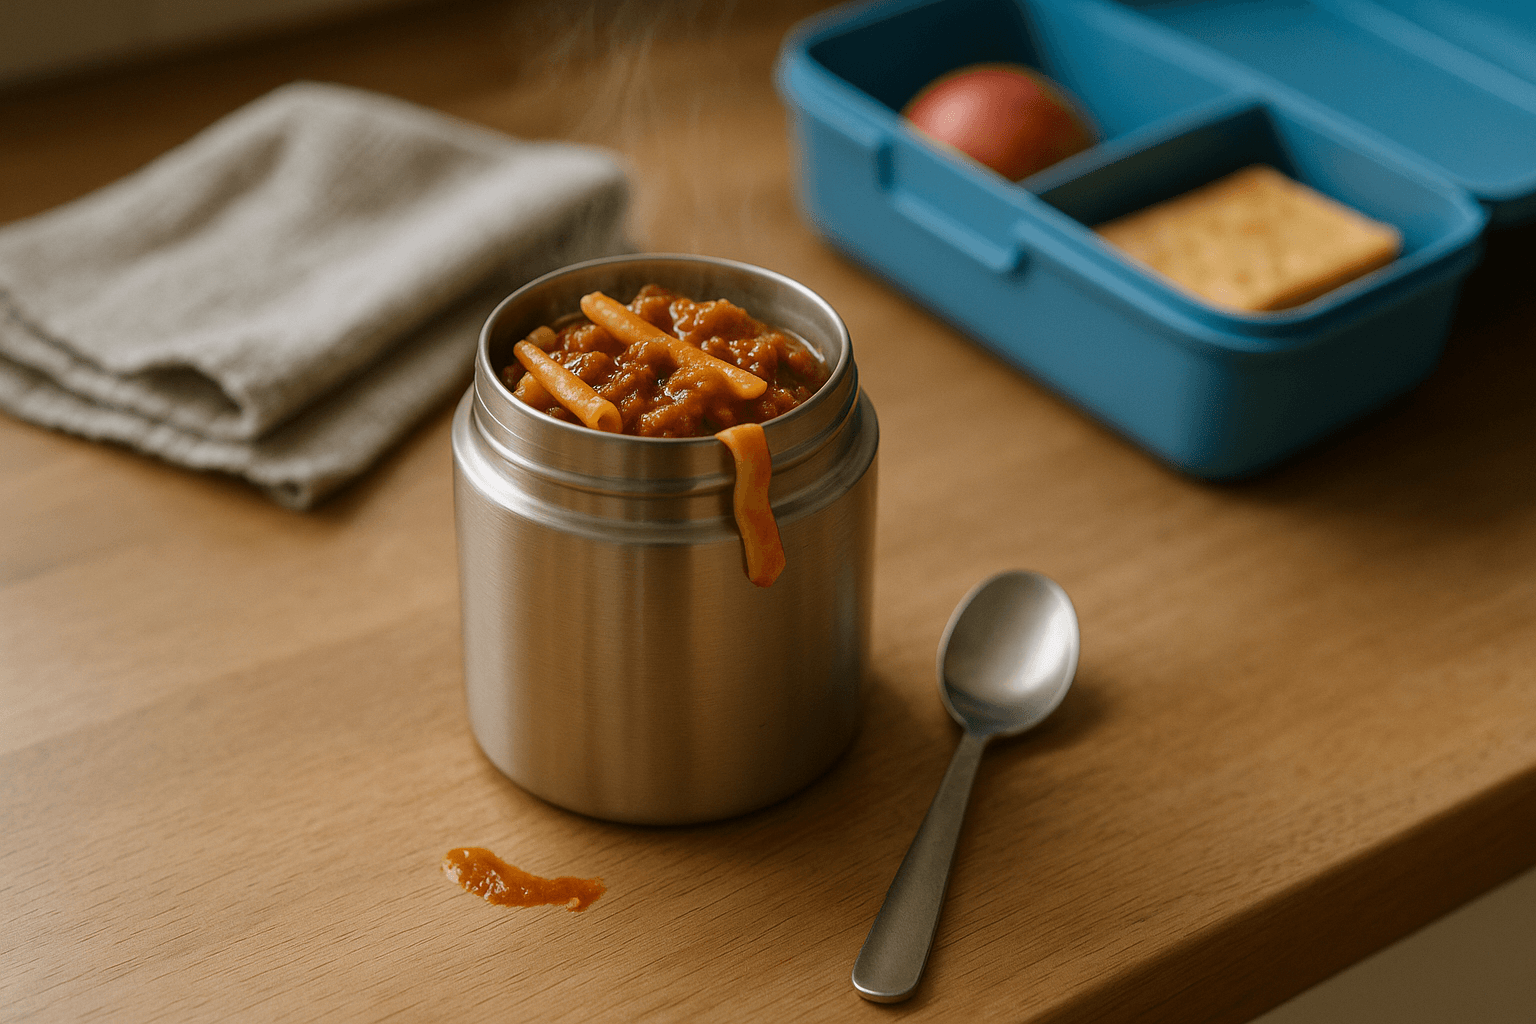
For Australian conditions, target 75°C when packing. The Thermos FUNtainer Food Jar 290ml holds temperature brilliantly - I've tested it repeatedly and food stays above 60°C for 6+ hours when properly pre-heated.
Double-insulation trick for winter: wrap the sealed thermos in a tea towel inside the lunchbox. This extra layer makes a 5-10 degree difference on cold mornings.
Test your thermos before trusting it with school lunch. Pack hot water at 75°C, leave for 6 hours, then check temperature. If it's below 55°C, you need a better thermos or better pre-heating technique.
25 Proven Dinner-to-Lunch Transformations
Not every leftover works in a thermos. Crispy foods go soggy, dry foods get drier, and some combinations separate into unappetising messes. These 25 transformations have been tested with real kids who actually eat them:
Pasta Dishes (5 variations):
- Spaghetti Bolognese: Add 2 tablespoons extra sauce per serve, reheat gently, stir in 1 tablespoon grated cheese just before packing
- Chicken Pasta Bake: Cut into chunks, add 1-2 tablespoons milk while reheating to prevent drying
- Mac and Cheese: Thin with milk (1 tablespoon per serve), add extra cheese, reheat stirring constantly
- Pasta Primavera: Remove crispy vegetables, add extra sauce or butter, keep soft vegetables only
- Lasagne: Cut into thermos-sized portions, add 1 tablespoon pasta sauce on top before reheating
Roast Meat Transformations (6 variations):
- Roast Chicken: Shred meat, add 3-4 tablespoons leftover gravy or chicken stock, heat until bubbling
- Roast Beef: Slice thinly, heat in leftover gravy or beef stock with vegetables
- Roast Pork: Dice and reheat in apple sauce or pan juices with root vegetables
- Lamb Roast: Shred and heat in mint sauce thinned with stock
- Chicken Schnitzel: Cut into strips, heat in tomato-based pasta sauce (gives up the crunch, gains flavour)
- Meatballs: Reheat in extra sauce, add 1-2 tablespoons water if needed
Meat Reheating Rule
Always add liquid when reheating meat for thermos - stock, gravy, or sauce. Dry reheated meat becomes cardboard in a thermos.
Rice and Grain Dishes (4 variations):
- Fried Rice: Add 2-3 tablespoons stock or water, reheat covered, stir halfway through
- Risotto: Add warm stock gradually while reheating, stir until creamy consistency returns
- Rice Pilaf: Add 1-2 tablespoons stock, reheat covered, fluff with fork before packing
- Quinoa Salad: Convert to warm salad by adding stock and heating gently, keep soft vegetables only
Casseroles and Stews (5 variations):
- Beef Stew: Perfect as-is, just reheat thoroughly and check liquid levels
- Chicken Casserole: Remove bay leaves, reheat with extra liquid if needed
- Tuna Mornay: Add 1 tablespoon milk per serve, reheat gently to prevent curdling
- Shepherd's Pie: Scoop filling and mash together, reheat as combined mixture
- Curry: Add coconut milk or stock if too thick, ensure rice is included or packed separately
Soup Transformations (5 variations):
- Thin Vegetable Soup: Thicken with instant mashed potato or cornflour slurry
- Chicken Soup: Perfect for thermos, add extra noodles or rice for substance
- Minestrone: Reheat gently, add extra pasta or beans for heartiness
- Pumpkin Soup: Add cooked rice or pasta to make it more filling
- Tomato Soup: Stir in cooked pasta shapes, add grated cheese before packing
Get Your Sunday Meal Prep Planner
Plan 5 days of thermos lunches from your dinner leftovers with this free printable guide.
The key principle: add moisture, avoid crunch, embrace cheese. Most dinner leftovers need extra liquid to prevent drying out during the 6-hour thermos journey.
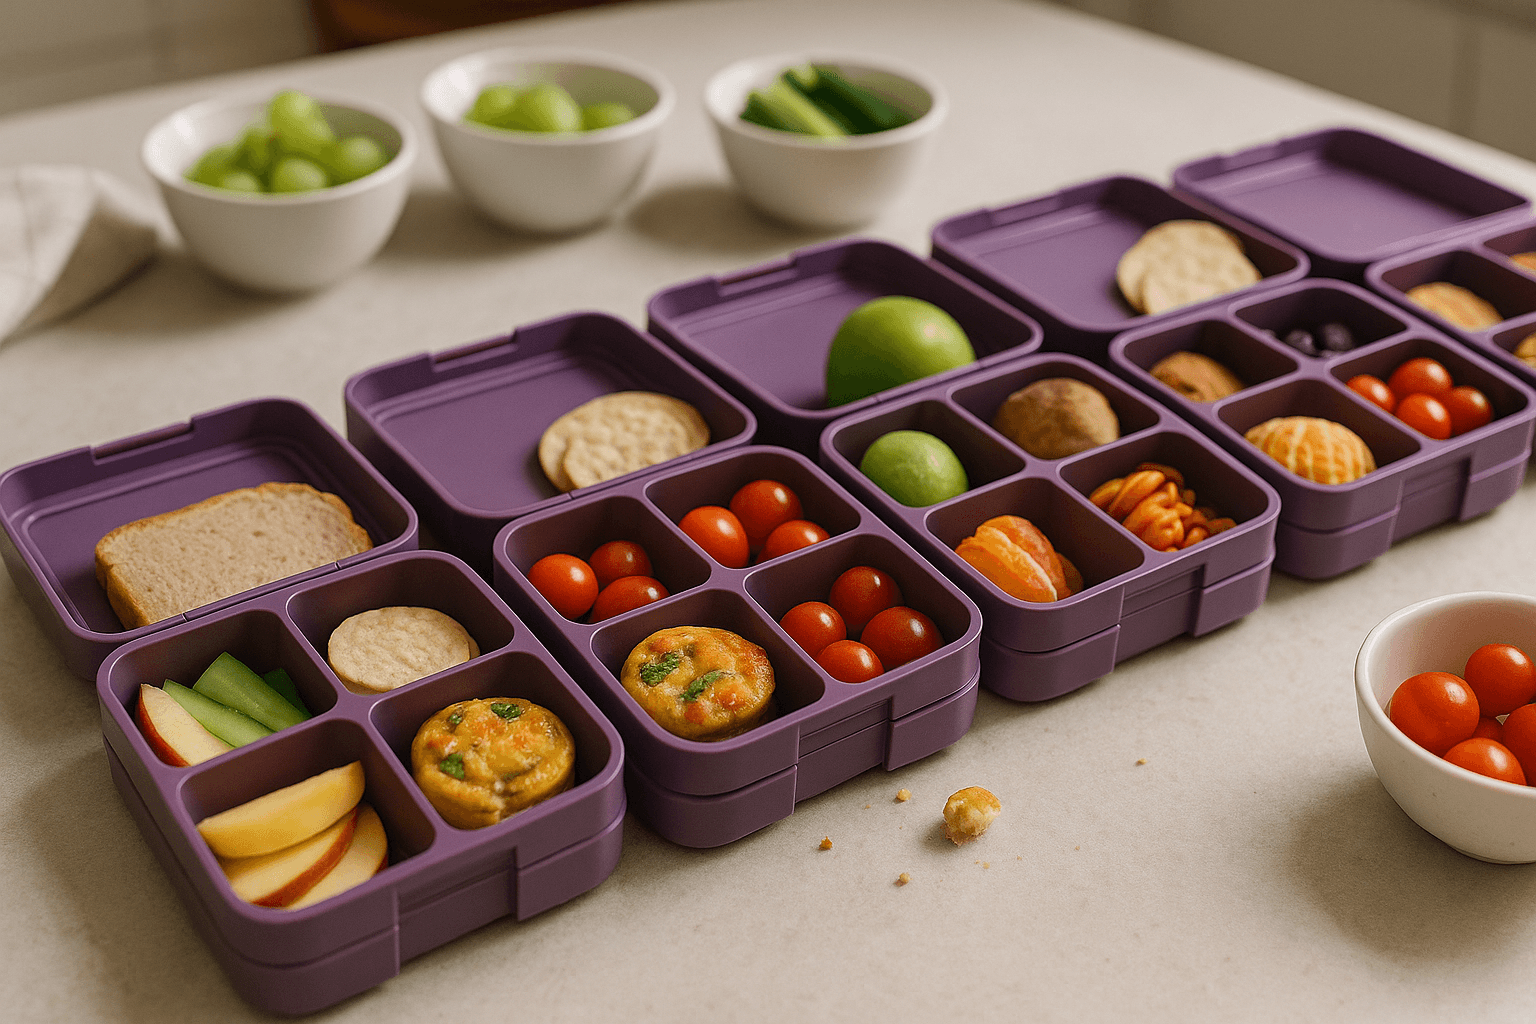
Age-Appropriate Portions: Prep to Year 6 Guide
Thermos sizes matter, and so do realistic portion expectations. I've measured what my kids actually eat (not what nutritionists recommend) across different ages:
Thermos Portion Sizes by Age Group
Prep to Year 1 (150-180ml serves): Fill a 290ml thermos 60% full. This looks small but prevents waste and ensures they finish it. Think 3-4 tablespoons of pasta with sauce, or 1/2 cup of stew.
Years 2-4 (200-220ml serves): Fill 75% of thermos capacity. They're more adventurous with textures and flavours. Can handle chunkier vegetables and mixed textures.
Years 5-6 (250-290ml serves): Nearly full thermos, but leave 1cm headspace. They need substantial portions and can handle adult-like servings.
Visual guide: Use your regular dinner bowls. Prep kids get 1/3 bowl, middle primary gets 1/2 bowl, upper primary gets 2/3 bowl. Adjust based on your individual child's appetite, but start conservative - better to pack too little than watch good food come home uneaten.
Food Safety for 6:30am to 12:30pm School Schedules
Six hours is a long time for food safety, especially in Australian heat. Here's what works and what doesn't:
Danger Zone Alert
Food between 4°C and 60°C enters the danger zone where bacteria multiply rapidly. Proper thermos technique keeps food above 60°C for 6+ hours.
Safe practices:
- Reheat leftovers to 75°C minimum before packing
- Pre-heat thermos with boiling water for 10+ minutes
- Pack immediately after reheating - don't let food cool first
- Use leftovers within 3 days of original cooking
- Keep thermos in insulated lunch bag away from ice packs
Avoid these leftovers in thermos:
- Rice dishes older than 2 days (rice bacteria risk)
- Seafood leftovers (too risky for 6-hour storage)
- Egg-based dishes like scrambled eggs (texture becomes rubbery)
- Salads with mayonnaise (separation and safety issues)
- Anything that was left at room temperature for more than 2 hours originally
Signs leftovers are too old:
- Sour or off smell when reheating
- Slimy texture on meat or vegetables
- Mould spots (obviously)
- Stored longer than 4 days in fridge
- Previously frozen and thawed more than once
When in doubt, don't pack it. A sandwich is better than a sick kid.
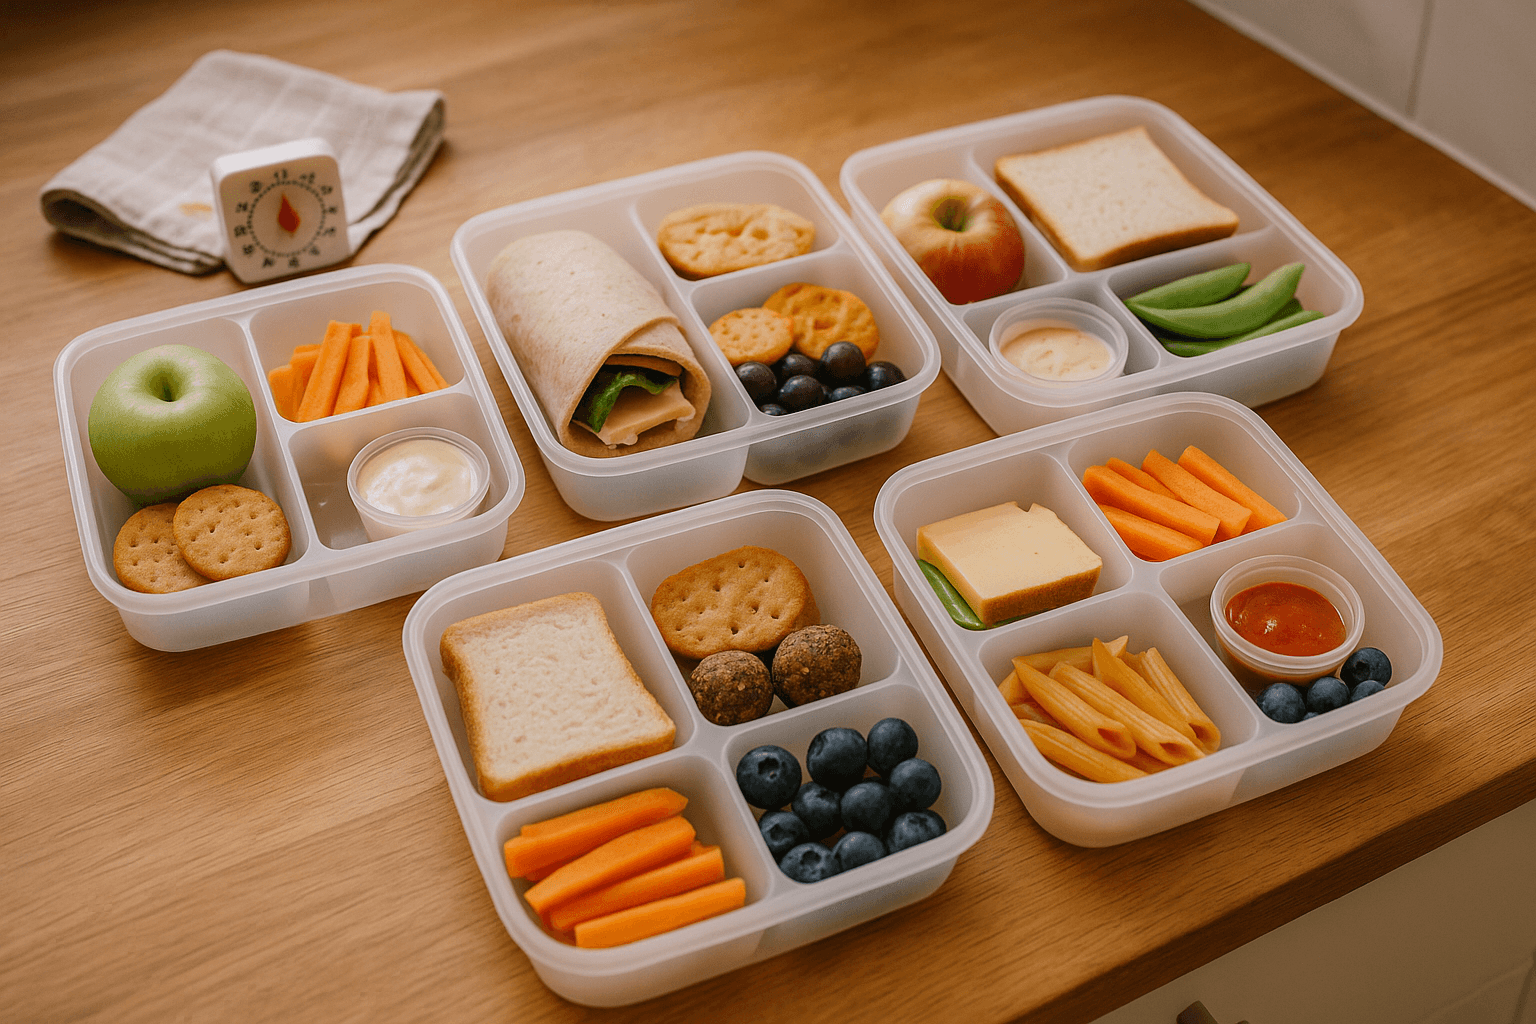
Weekend Prep Strategies for Time-Poor Parents
The secret to successful thermos lunches isn't daily cooking - it's thinking ahead when you're already cooking. Sunday meal prep makes weekday mornings manageable:
Sunday Thermos Prep Routine
Plan the week
Check school calendar, plan 3-4 thermos-friendly dinners for Mon-Thu
Batch cook bases
Make large batch of pasta sauce, soup base, or stew that divides easily
Portion and store
Divide into dinner + lunch portions, store lunch portions in separate containers
Test and organise
Check thermos condition, organise **Sistema To Go Dressing Pots** for sides
Freezer-friendly prep ideas:
- Cook double portions of bolognese sauce, freeze half in lunch-sized containers
- Make large batches of soup, freeze in 200ml portions
- Prepare casseroles in individual containers, freeze before baking
- Cook extra rice with each dinner, freeze portions for fried rice transformations
Label everything with contents and date. Frozen lunch portions can go straight from freezer to microwave on busy mornings - just add 2-3 minutes to reheating time.
Week-ahead planning template:
- Monday: Spaghetti Bolognese (make extra sauce)
- Tuesday: Thermos bolognese + new dinner
- Wednesday: Chicken casserole (make extra)
- Thursday: Thermos casserole + simple dinner
- Friday: Whatever works (often leftovers day)
This pattern gives you 2 planned thermos lunches per week with minimal extra effort.
Solving Common Thermos Lunch Problems
Three years of thermos lunches taught me every possible failure mode. Here's how to fix the most common issues:
Crispy Foods in Thermos
Pros
Kids love familiar textures
Easy to reheat from frozen
Cons
Always go soggy in steam
Become unappetising quickly
Work better as cold lunch options
Problem: Pasta clumping into solid mass Solution: Add extra sauce or butter before reheating. Stir halfway through reheating. Don't pack pasta without adequate liquid.
Problem: Sauce separating and looking unappetising Solution: Stir thoroughly while reheating. Add 1 teaspoon cornflour mixed with cold water to bind separated sauces. Heat gently, not rapidly.
Problem: Food not hot enough at lunch time Solution: Check your pre-heating technique. Boiling water for 10+ minutes is non-negotiable. Also check thermos seal - damaged seals kill heat retention.
Problem: Thermos smells after use Solution: Clean immediately after school. Soak overnight in warm water with 2 tablespoons baking soda. For stubborn odours, fill with warm water and 2 tablespoons white vinegar, leave overnight.
Cleaning and maintenance routine:
- Rinse immediately when kids get home
- Wash in hot soapy water, paying attention to lid threads
- Air dry completely before storing
- Monthly deep clean with baking soda paste
- Replace if seal becomes damaged or heat retention drops significantly
The best thermos lunch is one your child actually eats. Start with familiar flavours, master the reheating technique, then expand variety gradually.
Thermos lunches aren't perfect for every day, but they're brilliant for using leftovers efficiently while giving kids proper nutrition. Start with 2-3 thermos lunches per week, master the technique, then expand based on what works for your family.
Your dinner leftovers are tomorrow's lunch solution - you just need the right approach to make it work.
How useful was this?
Plan Your Week of Thermos Lunches
Free Sunday prep planner turns your dinner leftovers into 5 days of hot school lunches.
Written by Pat
Dad of two, Melbourne. Half Chinese, raised on incredible food. I make quick school lunches and test every piece of gear before recommending it. No bento art — just real food made with love.