In this article
Picture this: Sunday night, you've spent 45 minutes prepping what you think are five perfect lunches. Tuesday morning arrives, and you open the lunchbox to find a soggy sandwich disaster that even your least fussy kid won't touch. Sound familiar?
I've been there. After countless mushy sandwiches and rejected lunches, I figured out the science behind keeping make-ahead lunchbox food fresh for days. <cite index="12-18,12-19">Being time poor is commonly identified as being a major limitation to preparing lunchbox foods, with mothers working full-time having less time to prepare food they consider healthy</cite> — so let's make sure the time you do spend actually works.
The secret isn't just about what you pack, but how you pack it and when. Here's everything I've learned about make-ahead lunchbox foods that stay fresh, taste great, and save you precious morning minutes.
Why Most Make-Ahead Lunches Turn to Mush (And How to Stop It)
Moisture migration is the enemy. When you pack a tomato slice directly against bread, the tomato's water content slowly seeps into the bread fibres. Add Australia's humidity and a few days of storage, and you've got a recipe for disaster.
The three critical factors that determine whether your make-ahead lunch survives are:
Temperature control: Foods stored at 4°C or below dramatically slow moisture transfer. Your fridge isn't just keeping things cold — it's buying you time.
Humidity management: Every container becomes a mini ecosystem. Too much moisture and everything goes soggy. Too little and your food dries out.
Container choice: The wrong container can turn perfect prep into playground rejects. More on this below.
The Australian Factor
Our climate makes lunchbox prep trickier than overseas advice suggests. What works in dry Colorado won't necessarily work in humid Brisbane. I've adapted these techniques for real Australian conditions.
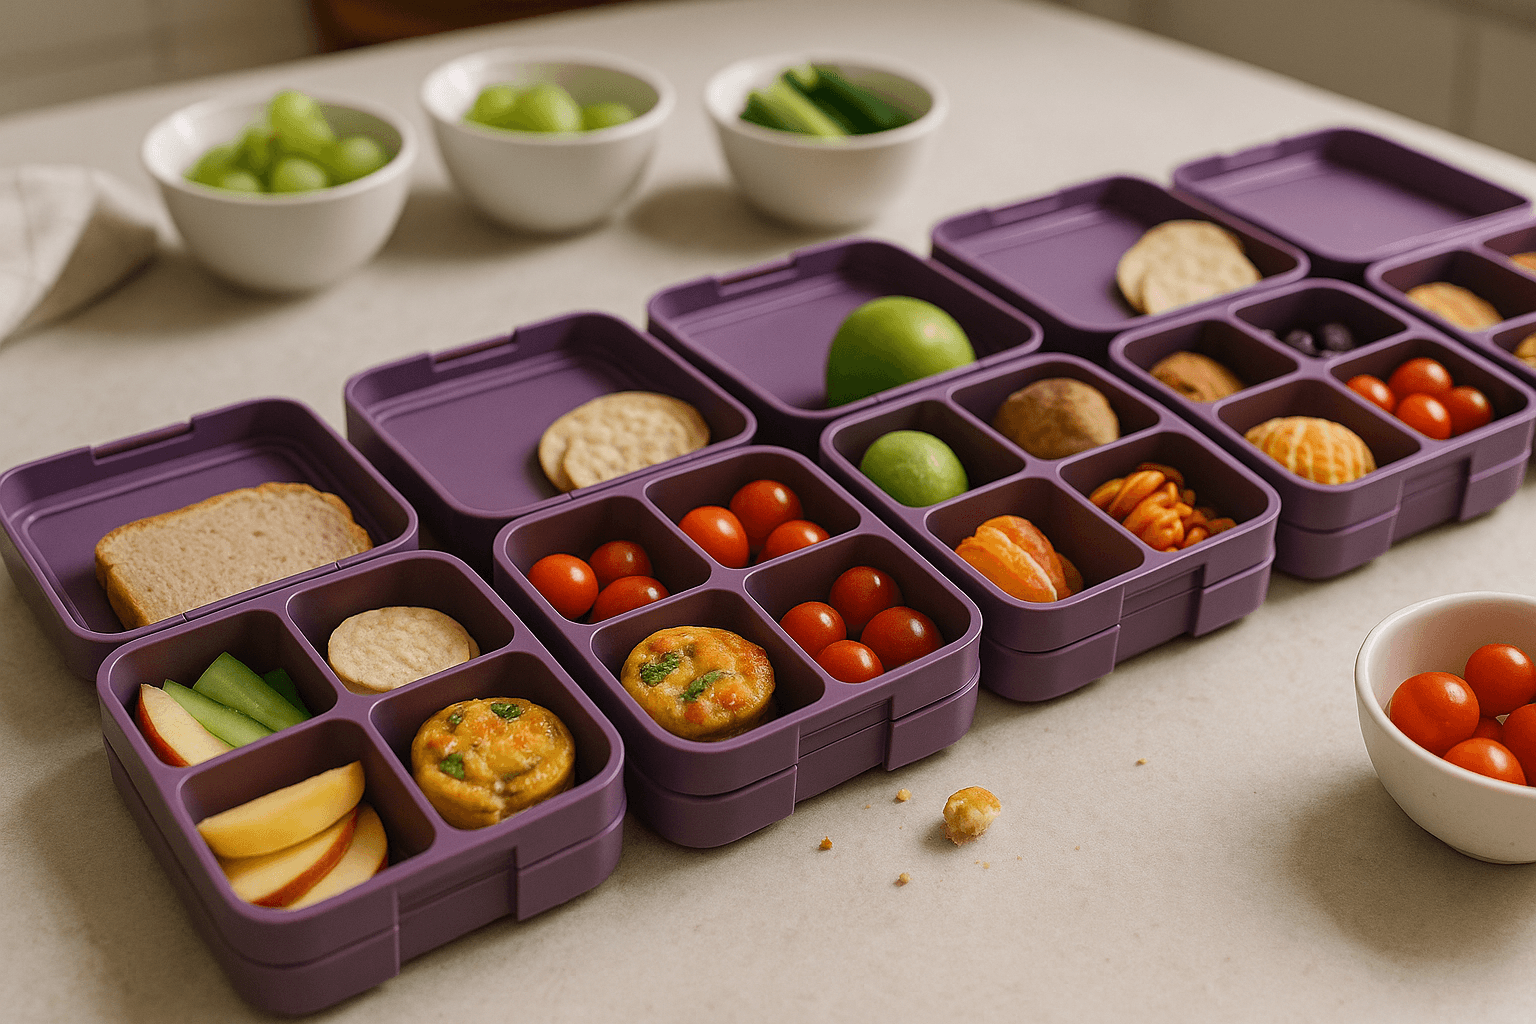
15 Make-Ahead Foods That Actually Improve Over Time
Some foods are natural time travellers — they get better with age. Focus your Sunday prep on these winners:
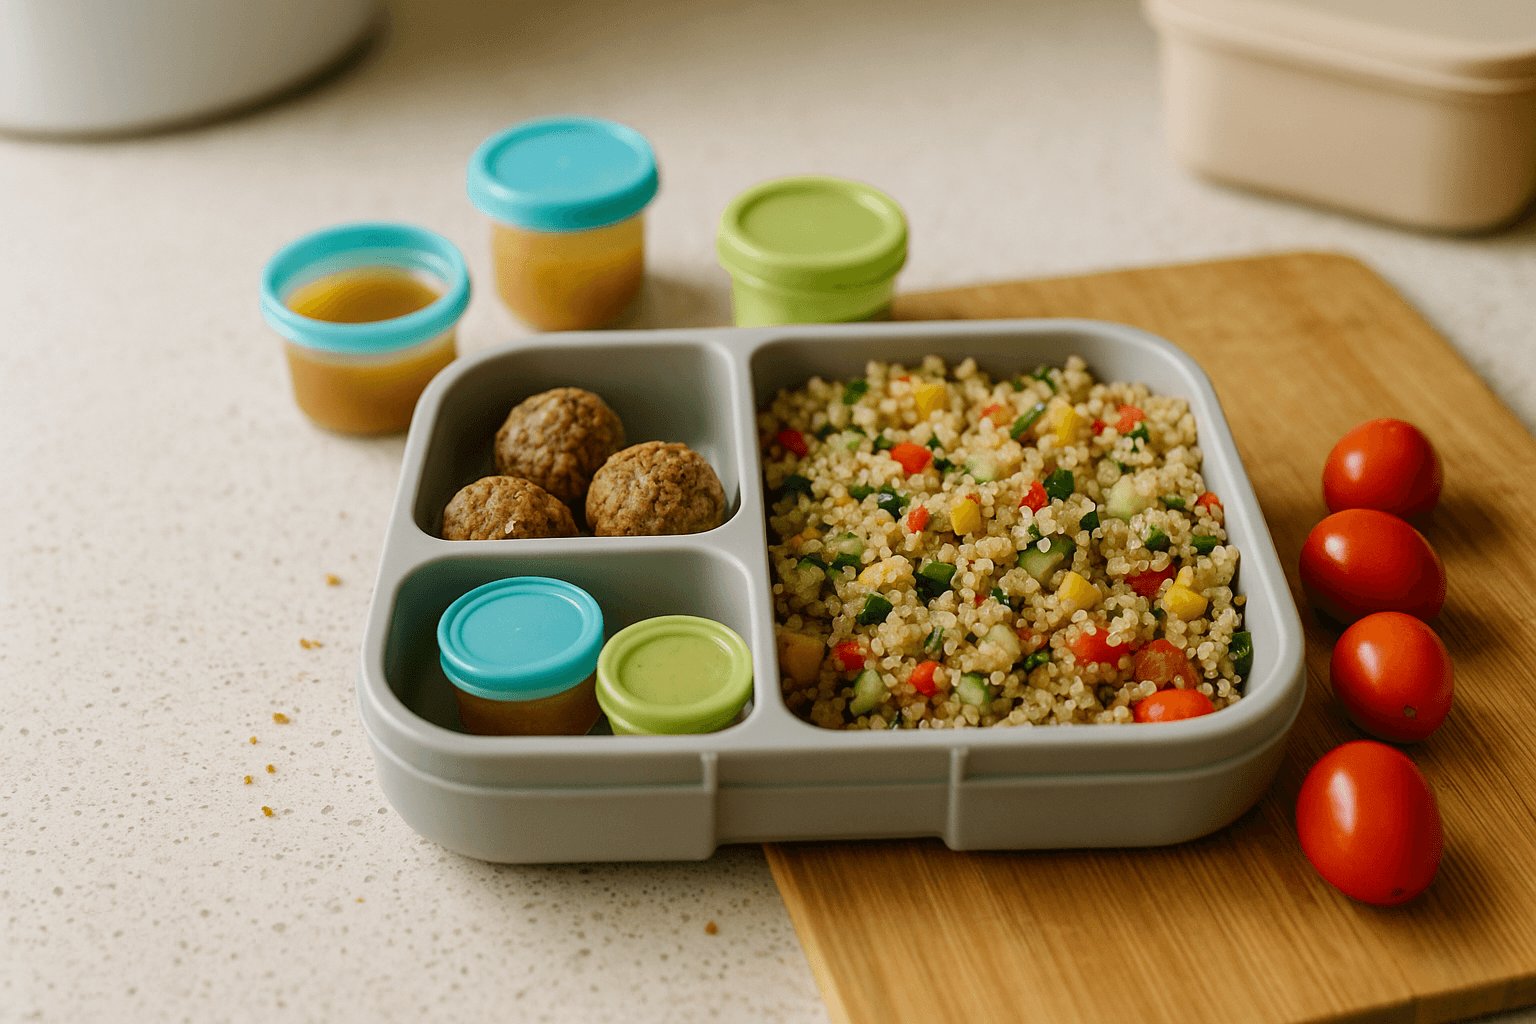
Grain-based salads (Days 1-4):
- Quinoa tabbouleh with lemon dressing
- Pearl couscous with roasted vegetables
- Brown rice salad with herbs and nuts
- Pasta salad with olive oil base (not mayo)
Energy balls and protein bites (Days 1-5):
- Date and almond balls
- Coconut rough bites
- Peanut butter protein balls
- Apricot and cashew rounds
Marinated vegetables (Days 2-5):
- Cucumber ribbons in rice vinegar
- Carrot sticks with hummus coating
- Cherry tomatoes in herb oil
- Bell pepper strips in balsamic
Baked goods that stay moist (Days 1-4):
- Banana oat muffins
- Zucchini slice squares
- Apple cinnamon scrolls
- Savoury cheese muffins
The key is understanding which foods release moisture (fresh tomatoes, lettuce) versus which absorb it (grains, nuts, dried fruits).
Sunday Energy Ball Prep
Mix dry ingredients
2 cups rolled oats, 1/2 cup shredded coconut, 1/3 cup chia seeds in large bowl
Add wet ingredients
1/2 cup peanut butter, 1/3 cup honey, 1 tsp vanilla extract
Roll and chill
Form 20 balls, refrigerate 30 minutes to firm up
Store properly
Airtight container, fridge for up to 5 days
The Barrier Method: Keep Wet and Dry Ingredients Apart
This is where most parents go wrong. They think separation means different containers, but smart separation is about creating barriers within the same lunch.
Lettuce barriers for sandwiches: Place lettuce leaves between wet ingredients (tomato, cucumber) and bread. The lettuce acts as a moisture shield while staying crisp itself.
Fat-based spreads as shields: Butter, cream cheese, or avocado create a waterproof barrier. Spread right to the edges — no gaps.
Strategic layering in wraps: Always place wet ingredients in the centre, surrounded by absorbent ingredients like grated cheese or shredded lettuce.
Separate sauce containers: The Sistema To Go Dressing Pot 4-Pack are perfect for this. Pack dressings, dips, and wet condiments separately until eating time.
The golden rule: wet ingredients never directly touch bread or crackers until eating time.
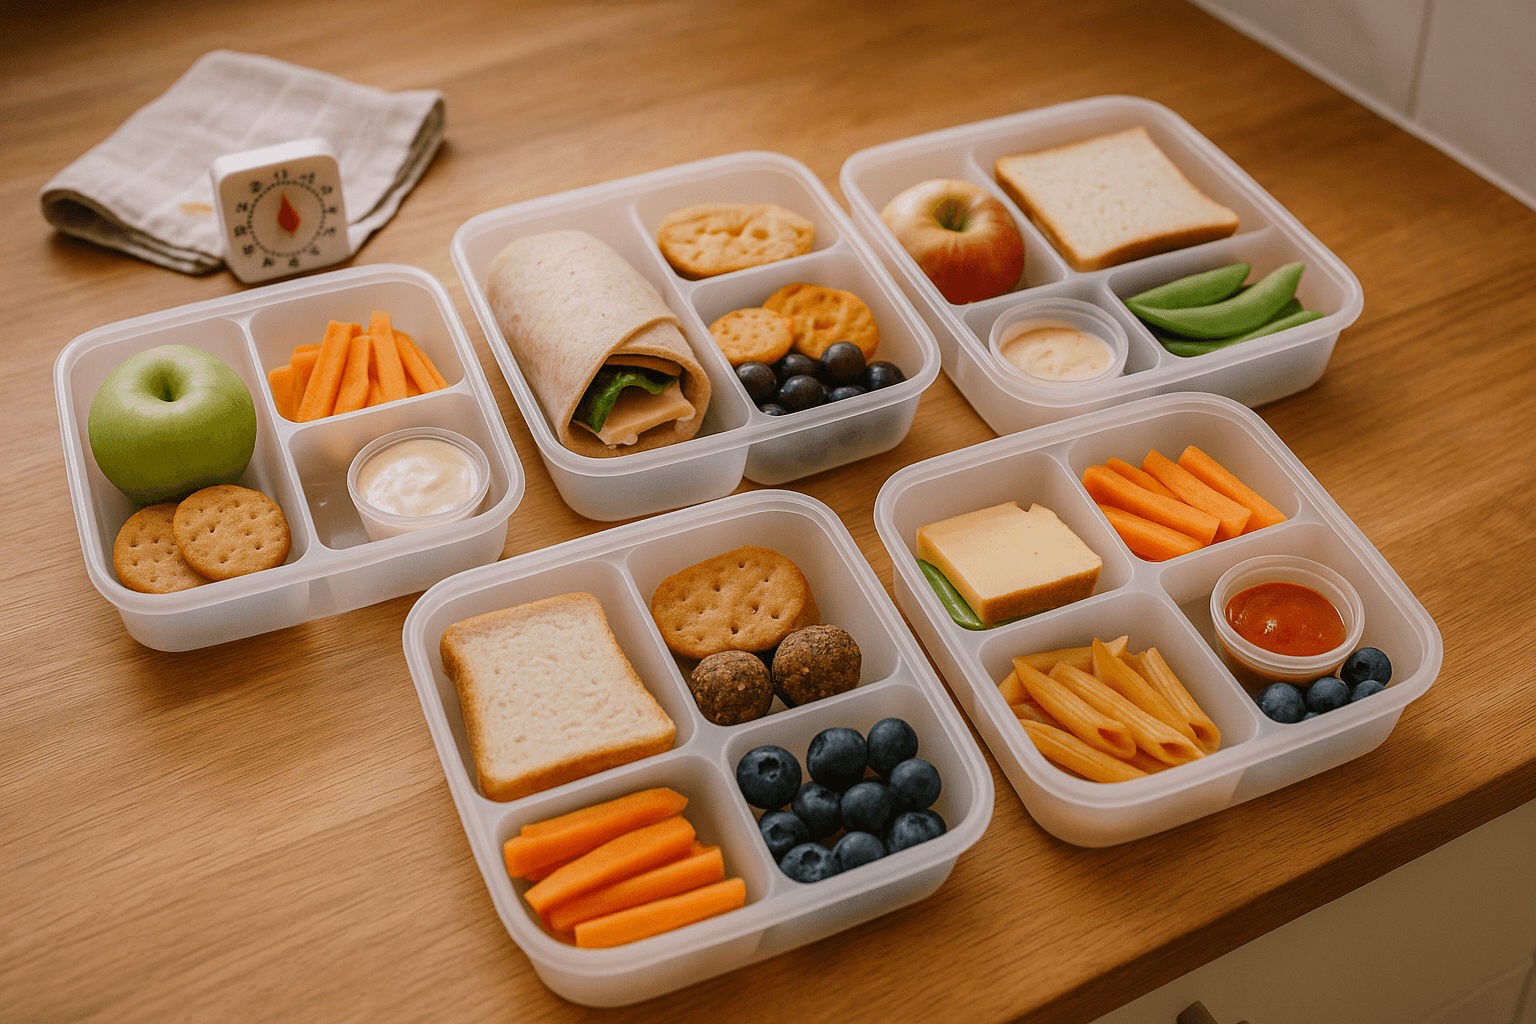
Container Systems That Prevent Soggy Disasters
Not all lunchboxes are created equal. After testing dozens with my kids, here's what actually works:
Compartmentalised boxes: The Yumbox Original is my go-to. Each compartment has its own seal, preventing cross-contamination of moisture and flavours.
Ventilation strategy: Most parents think airtight is always better. Wrong. Foods like crackers and baked goods need slight ventilation to prevent condensation. Look for containers with tiny vent holes.
Glass vs plastic: Glass containers maintain consistent temperature and don't absorb odours, but they're heavy. For make-ahead prep, I use glass for storage, then transfer to plastic for school.
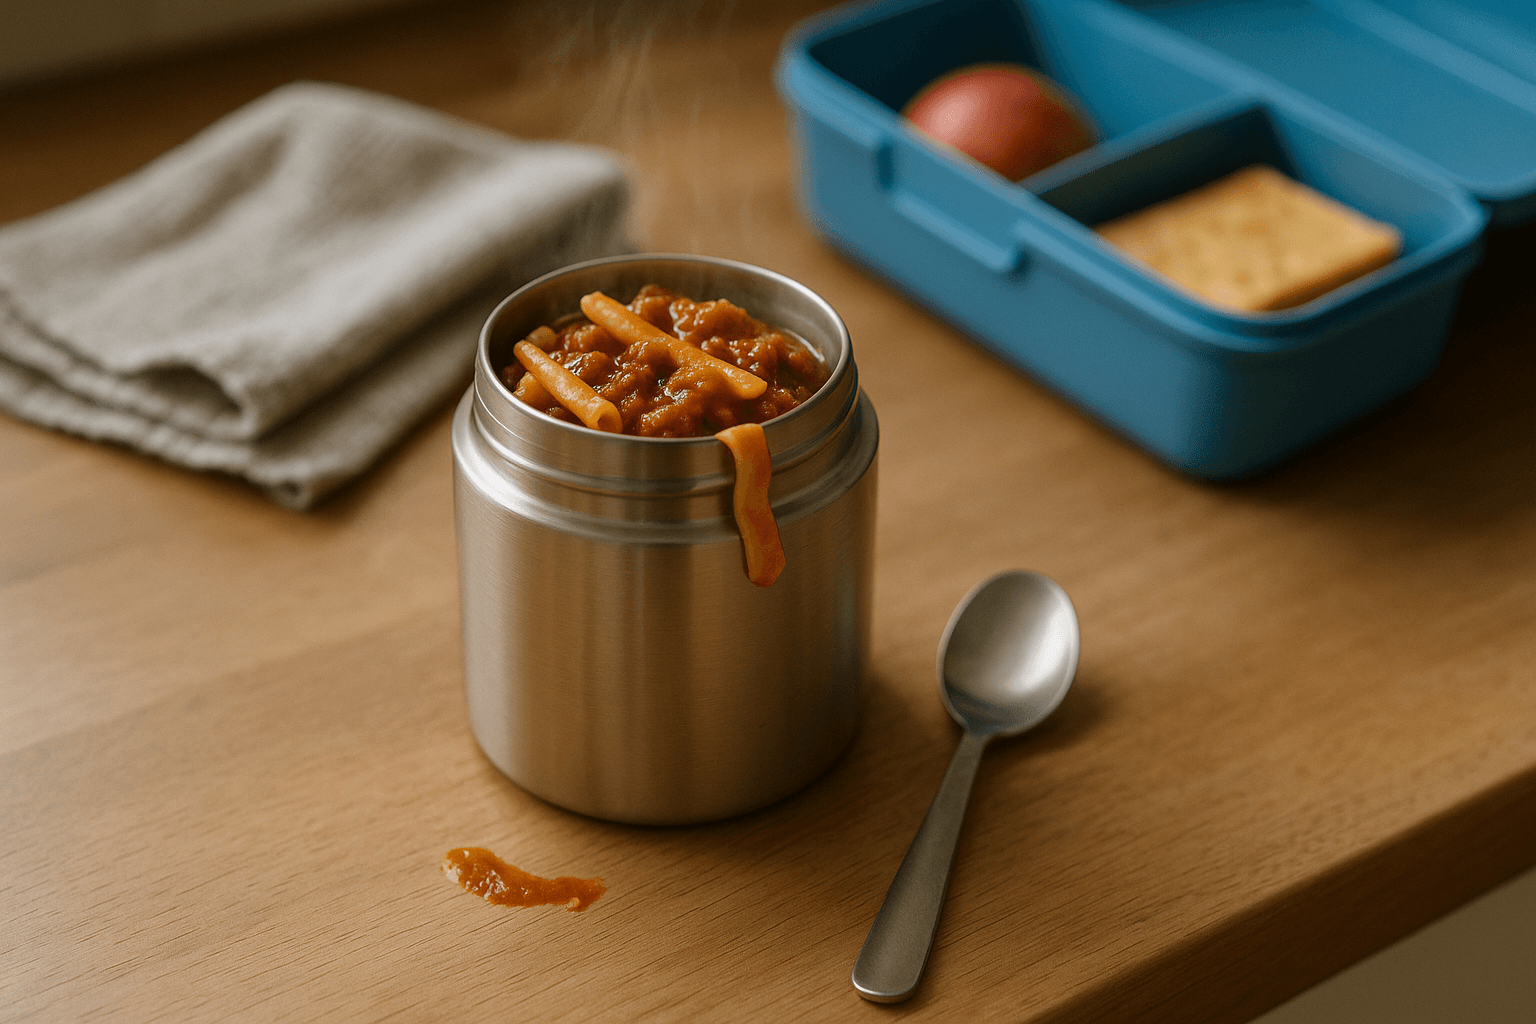
Ice pack placement: Never place ice packs directly against bread or crackers. The temperature differential creates condensation. Use the Bentgo Reusable Ice Packs in a separate compartment.
Yumbox Original
Pros
Six separate compartments with individual seals
Leak-proof for wet foods like yogurt
Easy for kids to open independently
Dishwasher safe and durable
Cons
Limited portion sizes in each compartment
More expensive than basic lunchboxes
Can be tricky to clean thoroughly
For more guidance on container choices for challenging weather, check out our extreme weather lunchbox tips.
5-Day Prep Strategy: What to Make When
Timing is everything. Here's my tested weekly schedule that maximises freshness:
Sunday (45 minutes total):
- Bake muffins and slice (20 minutes active, 25 minutes baking)
- Make energy balls (15 minutes)
- Prep raw vegetables and portion into containers (10 minutes)
Tuesday evening (15 minutes):
- Make grain salads — they need 2-3 days to develop flavour
- Marinate vegetables for Thursday and Friday lunches
Wednesday evening (10 minutes):
- Check and refresh any items showing wear
- Prep Friday's special additions (fresh fruit, crackers)
Weekly Prep Timeline
Baking Session
Muffins, energy balls, slice — all the items that improve with time
Grain Prep
Quinoa salads, pasta dishes that need flavour development time
Quality Check
2-minute freshness assessment and next-day assembly prep
This strategy aligns with our complete Sunday prep system but focuses specifically on soggy-prevention techniques.
Freezer-to-Lunchbox Heroes: Foods That Thaw Perfectly
The freezer is your secret weapon for make-ahead success. These foods actually benefit from a freeze-thaw cycle:
Sandwiches that freeze well:
- Peanut butter and jam (the fat content prevents ice crystals)
- Cheese and ham (avoid lettuce and tomato)
- Cream cheese and cucumber (surprisingly good)
Muffins and baked goods: Freeze individually wrapped. They act as natural ice packs and thaw to perfect eating temperature by lunch time.
Portion-controlled frozen items:
- Individual yogurt portions in small containers
- Frozen grape portions (natural ice packs that become snacks)
- Pre-portioned smoothie ingredients
Thawing Timeline
Remove frozen items from freezer at 7am for perfect lunch-time texture. Items removed the night before often become soggy from condensation.
For a complete list of freezer options, see our guide to freezer-friendly lunchbox foods.
Morning Assembly: 2-Minute Lunch Packing System
With proper prep, morning assembly should take under 2 minutes per child. Here's my system:
The night before:
- Lay out tomorrow's containers on the kitchen bench
- Check freshness of all prepped components
- Set out any last-minute fresh additions
Morning assembly (90 seconds per lunch):
- Add fresh elements (lettuce, cherry tomatoes) — 20 seconds
- Combine wet and dry components using barrier method — 30 seconds
- Pack snacks and treats from prep containers — 20 seconds
- Final quality check and lid closure — 20 seconds
Backup options: Always have 2-3 emergency options ready. Crackers and cheese, fruit pouches, or muesli bars can save a failed experiment.
Morning Assembly Checklist
Get Your Free Sunday Meal Prep Planner
Printable weekly planner with prep lists and assembly guides for soggy-free lunches
Storage Safety and Quality Control
Food safety isn't negotiable, especially with make-ahead prep. <cite index="17-17">Children consume approximately one-third of their daily nutritional intake during school hours</cite>, so we need to get this right.
Maximum storage times:
- Baked goods: 4 days in airtight containers
- Grain salads: 3 days with proper refrigeration
- Cut vegetables: 2 days maximum
- Assembled sandwiches: 1 day (components can be prepped for 3 days)
For detailed guidance on safe storage periods, review our food safety guidelines.
Daily quality checks:
- Smell test — trust your nose
- Visual inspection for mould or discolouration
- Texture check — soggy means start over
- Taste test if in doubt
The Bottom Line
Make-ahead lunchbox success isn't about finding magical foods that never go bad. It's about understanding moisture, timing your prep correctly, and using the right techniques to keep wet and dry ingredients happy together.
<cite index="12-18,12-19">Being time poor is commonly identified as being a major limitation to preparing lunchbox foods</cite> — but with these techniques, you can prep once and eat well all week. Focus on the foods that improve with time, master the barrier method, and invest in proper containers.
Your Tuesday-morning self will thank your Sunday-afternoon prep session. And more importantly, your kids will actually eat what you pack.
Start with 3-4 make-ahead items this week. Master those, then gradually expand your repertoire. Perfect prep beats ambitious failure every time.
How useful was this?
Get Your Free Sunday Meal Prep Planner
Printable weekly planner with prep lists and assembly guides for soggy-free lunches
Written by Pat
Dad of two, Melbourne. Half Chinese, raised on incredible food. I make quick school lunches and test every piece of gear before recommending it. No bento art — just real food made with love.