In this article
Look, I get it. Sunday night rolls around and you're staring at five empty lunchboxes knowing you've got to somehow magic up decent food for the week ahead. Between work, sport runs, and everything else, who's got time to pack fresh lunches every bloody morning?
Related: Winter Thermos Lunches Kids Will Actually Eat
Related: Budget Lunchbox Shopping: Aldi vs Coles vs Woolies
Related: Autumn Lunchbox Food Safety: Australia's Forgotten Danger Zone
Related: Cost Per Lunchbox Breakdown: Real Australian Spending
Related: Lunchbox Costs: How Much Should You Really Spend Per Week?
Related: School Lunch Cost Australia 2026: Real Spend Breakdown
Related: Bento Box Trend Australia 2026: Why Compartments Beat Brown Bags
Related: Insulated Lunch Bags for Kids: Worth It or Waste of Money?
Related: Warm Lunch Ideas for School Autumn: 15 Thermos Recipes
Related: The $30 Lunchbox Shopping List: 5-Day Plan
Related: Do Lunchbox Ice Packs Work? We Tested 6
Related: Make-Ahead Lunchbox Food That Doesn't Go Soggy
Related: How to Sneak Vegetables Into Every Lunchbox
Related: Easter Lunchbox Ideas Kids Love: 15 Quick & Easy
Related: 4-Hour Rule: Lunchbox Food Safety Every Parent Needs
Related: School-Provided Lunches Coming to Australia: Parent Guide
Related: Best Thermos Food Jars for School Australia 2026
Related: Bento Box Buying Guide for Australian Parents 2026
Related: Bento Box Hacks: 5-Minute Assembly for Perfect Portions
Related: School Lunch Cost Analysis Australia: Budget Breakdown
Related: Stainless Steel vs Plastic Lunchboxes: Real Cost Analysis
Related: Bento Box Assembly Line: Pack 5 Lunches in 20 Minutes
Related: School Lunch Prep Sunday: One Hour, Five Days Sorted
Related: DIY Assembly Lunchboxes: Let Kids Build Their Own Lunch
Related: Cultural Fusion Lunchboxes: Easy Ideas for Aussie Kids
Related: Lunchbox Stress: Why 61% of Parents Dread Packing & How to Fix It
Related: Complete Guide to Allergen-Free School Lunches Australia
Related: 15 Leftover Dinner to Lunchbox Ideas (Dad-Tested)
That's where the assembly line method comes in. Thirty minutes on Sunday, five days sorted. No daily stress, no forgotten lunches, and definitely no buying overpriced canteen food because you ran out of time.
Why the Assembly Line Method Works for Time-Poor Parents
<cite index="11-1,12-1,15-10">90% of Australian school children bring a home-packed lunch to school, with 44% of the food consumed during school hours being unhealthy</cite>. But here's the thing - it's not because parents don't care. It's because we're bloody exhausted and grabbing whatever's quickest.
The assembly line method works because it treats lunch prep like any other efficient system. You wouldn't build a deck by cutting one piece of timber, nailing it on, then cutting the next piece. Same logic applies here.
Instead of spending 10 minutes every morning scrambling for sandwich fillings, you spend 30 minutes once and you're done. Plus, your kids learn to see food prep as a systematic process rather than daily chaos. They start understanding that good food requires planning, not panic.
The best part? You're not trying to create Instagram-worthy bento boxes here. You're creating nutritious, appealing food that your kids will actually eat. Function over photos, every time.
The 30-Minute Sunday Setup: Your Complete System
Here's exactly how to knock out five days of lunches in half an hour:
Minutes 0-10: Prep Station Setup
- Clear your bench completely
- Get out all containers, ice packs, and storage bags
- Line up your Sistema Bento Lunch Boxes (or whatever you're using)
- Set out all ingredients you'll need
- Fill your sink with warm soapy water for quick cleanups
Minutes 10-25: Assembly Phase
- Start with dry ingredients first (crackers, nuts, dried fruit)
- Move to proteins (pre-cooked chicken, ham, cheese portions)
- Add fresh elements that'll keep (carrots, cherry tomatoes, apple slices with lemon juice)
- Finish with any wet items in separate containers
Minutes 25-30: Storage and Cleanup
- Label everything if you've got multiple kids
- Stack in fridge in order (Monday at the front)
- Quick cleanup and you're done
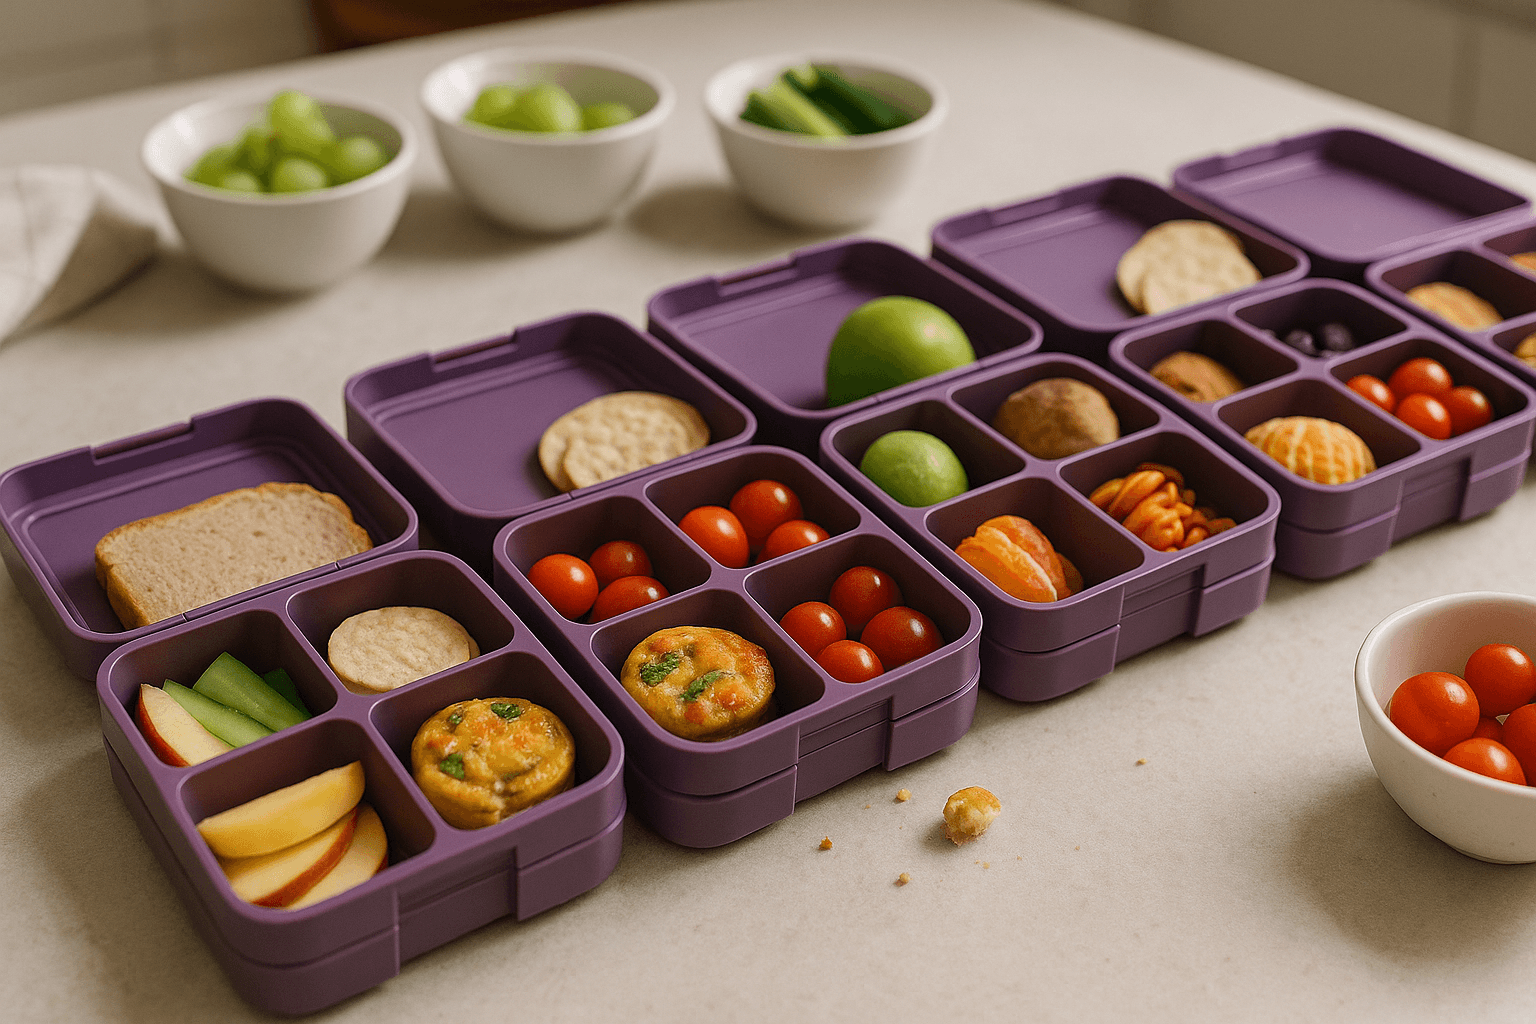
The key is working horizontally, not vertically. Don't complete one lunchbox then move to the next. Fill all five containers with crackers, then all five with cheese, and so on. Much faster.
What to Prep, What to Pack Fresh (Australian Food Safety Guide)
Our climate means you can't prep everything five days ahead. Here's what works and what doesn't:
Safe for 5-Day Prep:
- Hard cheeses (cheddar, tasty cheese)
- Cured meats (ham, salami)
- Raw vegetables (carrots, celery, cherry tomatoes)
- Crackers and dry snacks
- Nuts and seeds
- Dried fruit
3-Day Maximum:
- Cooked chicken or beef
- Soft cheeses (cream cheese spreads)
- Cut fruit with citric acid (apple slices with lemon)
Pack Fresh Daily:
- Soft fruits (bananas, grapes)
- Yoghurt
- Milk-based drinks
- Anything with mayo or soft spreads
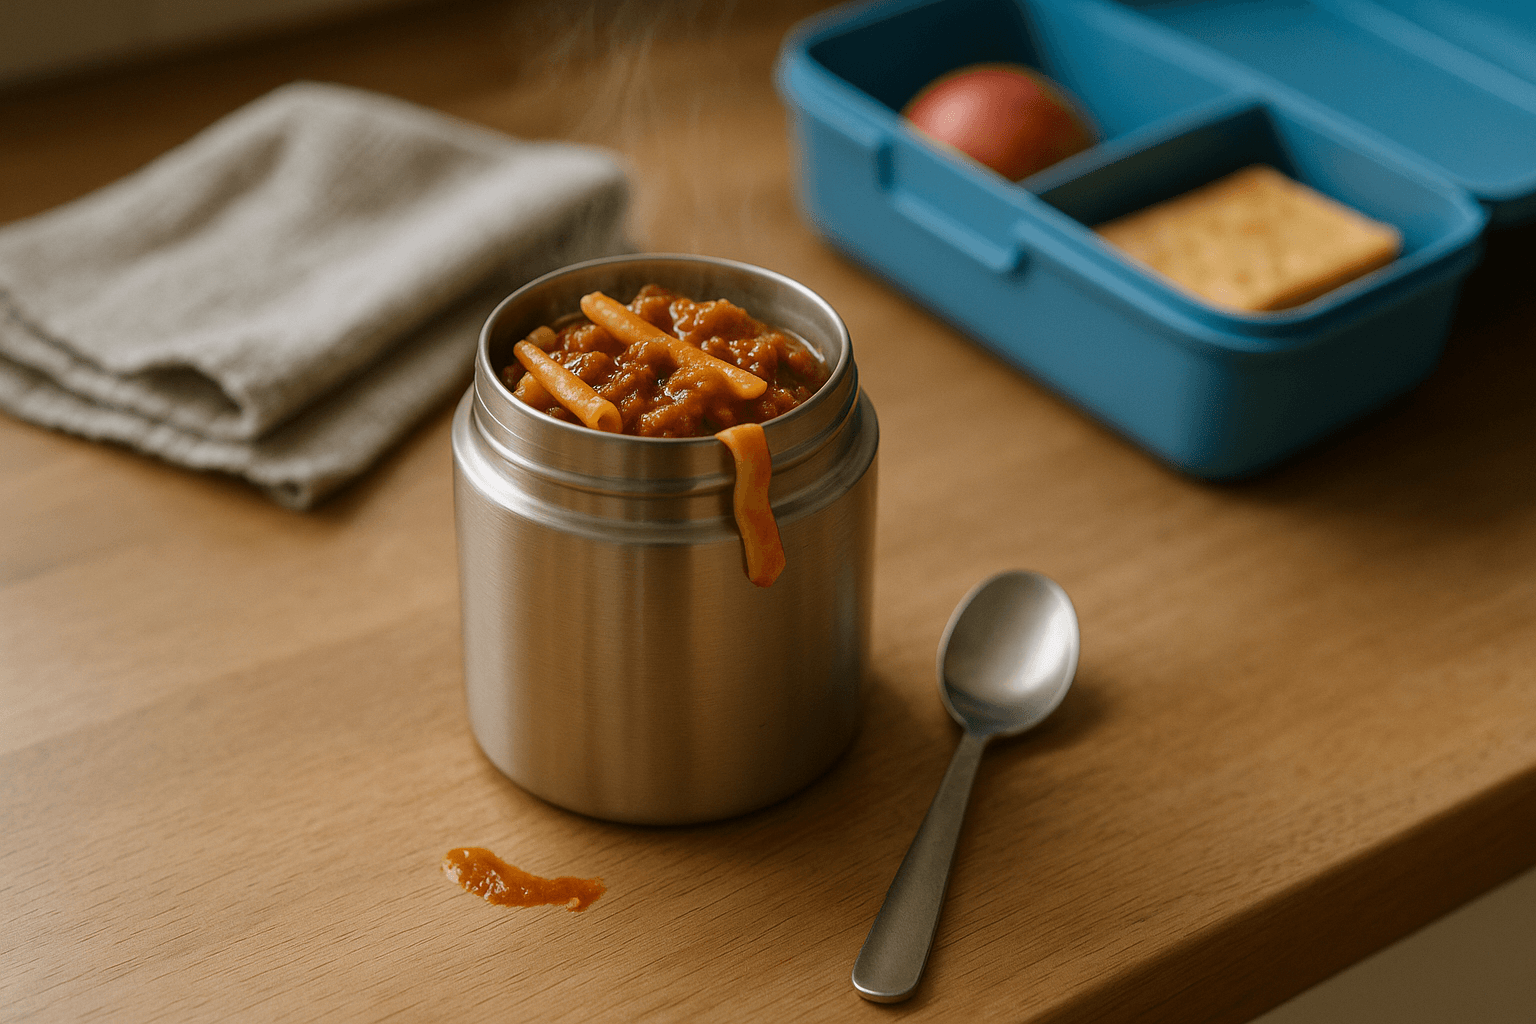
For items that need to stay cold, the Thermos FUNtainer Food Jar 290ml is brilliant for things like yoghurt or pasta salads. Pre-chill it with cold water for 5 minutes, then add your cold food.
Temperature danger zone is 5-60°C. Anything sitting in that range for more than 4 hours is asking for trouble, especially in our heat.
Storage Solutions That Actually Keep Food Fresh for 5 Days
Not all containers are created equal. Here's what actually works:
For Dry Items: Any decent plastic container with a tight lid works fine. Sistema boxes are good value and the compartments keep things separate.
For Fresh Produce: Glass containers with rubber seals work best. They don't absorb odours and create better seals than plastic.
For Temperature-Sensitive Items: You need proper ice packs, not those thin gel things that warm up by 10am. Fit & Fresh Cool Coolers Ice Packs (4-pack) stay cold for hours and fit most lunchbox designs.
Ice Pack Strategy: Freeze overnight, obviously. But here's the trick - wrap them in a thin tea towel. Stops them from creating condensation that makes everything soggy, and prevents that shock of frozen fingers when kids grab their lunch.
For our climate, assume ice packs will keep things cold for about 4-6 hours maximum. If your kid's got a longer day, they need to eat the cold stuff first.
Getting Kids Involved Without Slowing You Down
Right, let's be honest here. Getting kids "involved" often means doubling your prep time while they argue about whether the cheese should be squares or triangles.
But there are ways to include them that actually help:
Ages 4-6:
- Washing cherry tomatoes and grapes
- Putting crackers into containers
- Choosing between two pre-selected options
Ages 7-10:
- Portioning out nuts and dried fruit
- Wrapping cheese portions
- Simple assembly tasks with clear instructions
Ages 11+:
- Taking responsibility for their own lunchbox assembly
- Helping with younger siblings' prep
- Basic food safety awareness
The Yumbox Original works well for this because the compartments are clearly defined. Kids know exactly where each type of food goes, so there's less decision fatigue and fewer arguments.
Set clear expectations: "Your job is to fill the fruit compartment in all five boxes. Nothing else." Don't give them open-ended tasks or you'll be there all afternoon.
Troubleshooting Common Batch Prep Failures
Even the best systems go sideways sometimes. Here's how to fix the most common problems:
Soggy Sandwiches: Put wet ingredients (tomato, lettuce) in separate containers. Use a barrier like cheese or butter between bread and wet fillings. Better yet, skip sandwiches entirely and go for wraps or crackers with separate toppings.
Forgotten Ice Packs: Keep backup gel packs in the freezer. In a pinch, a frozen water bottle works - and they can drink it as it melts.
Food Gone Off: This usually means you pushed the storage limits too far. When in doubt, chuck it out. Have backup non-perishables (crackers, nuts, fruit pouches) ready to go.
Monday Morning Disasters: Keep a PackIt Freezable Lunch Bag as your emergency backup. The whole bag freezes, so you can grab shelf-stable items and they'll stay cool. Perfect for those "everything's gone wrong" mornings.
When batch prep fails completely, you need quick daily lunch solutions that don't require Sunday prep.
Budget-Friendly Bulk Ingredients That Work
Batch prep only makes financial sense if you're buying smart. Here's what to stock up on:
Proteins:
- Whole roasted chicken (portion and freeze)
- Block cheese (much cheaper than pre-sliced)
- Canned tuna and salmon
- Eggs (hard-boiled keep for 5 days)
Versatile Bases:
- Rice crackers
- Wholemeal wraps
- Pasta (for cold salads)
- Seasonal fruit bought in bulk
Smart Shopping Tips:
- Buy vegetables that keep well (carrots, celery, cherry tomatoes)
- Frozen fruit for smoothie packs
- Nuts and seeds in bulk from health food stores
- Seasonal produce when it's cheap - prep and freeze
Sistema To Go Dressing Pot 4-Pack is brilliant for portion control. Fill them with hummus, yoghurt dips, or nut butters. Much cheaper than buying individual serves.
A week's worth of lunches should cost around $15-20 per child if you're buying smart and using seasonal produce.
Sample 5-Day Lunch Plans for Different Ages
Here's what actually works for different age groups:
Ages 4-6 (Toddler-Friendly):
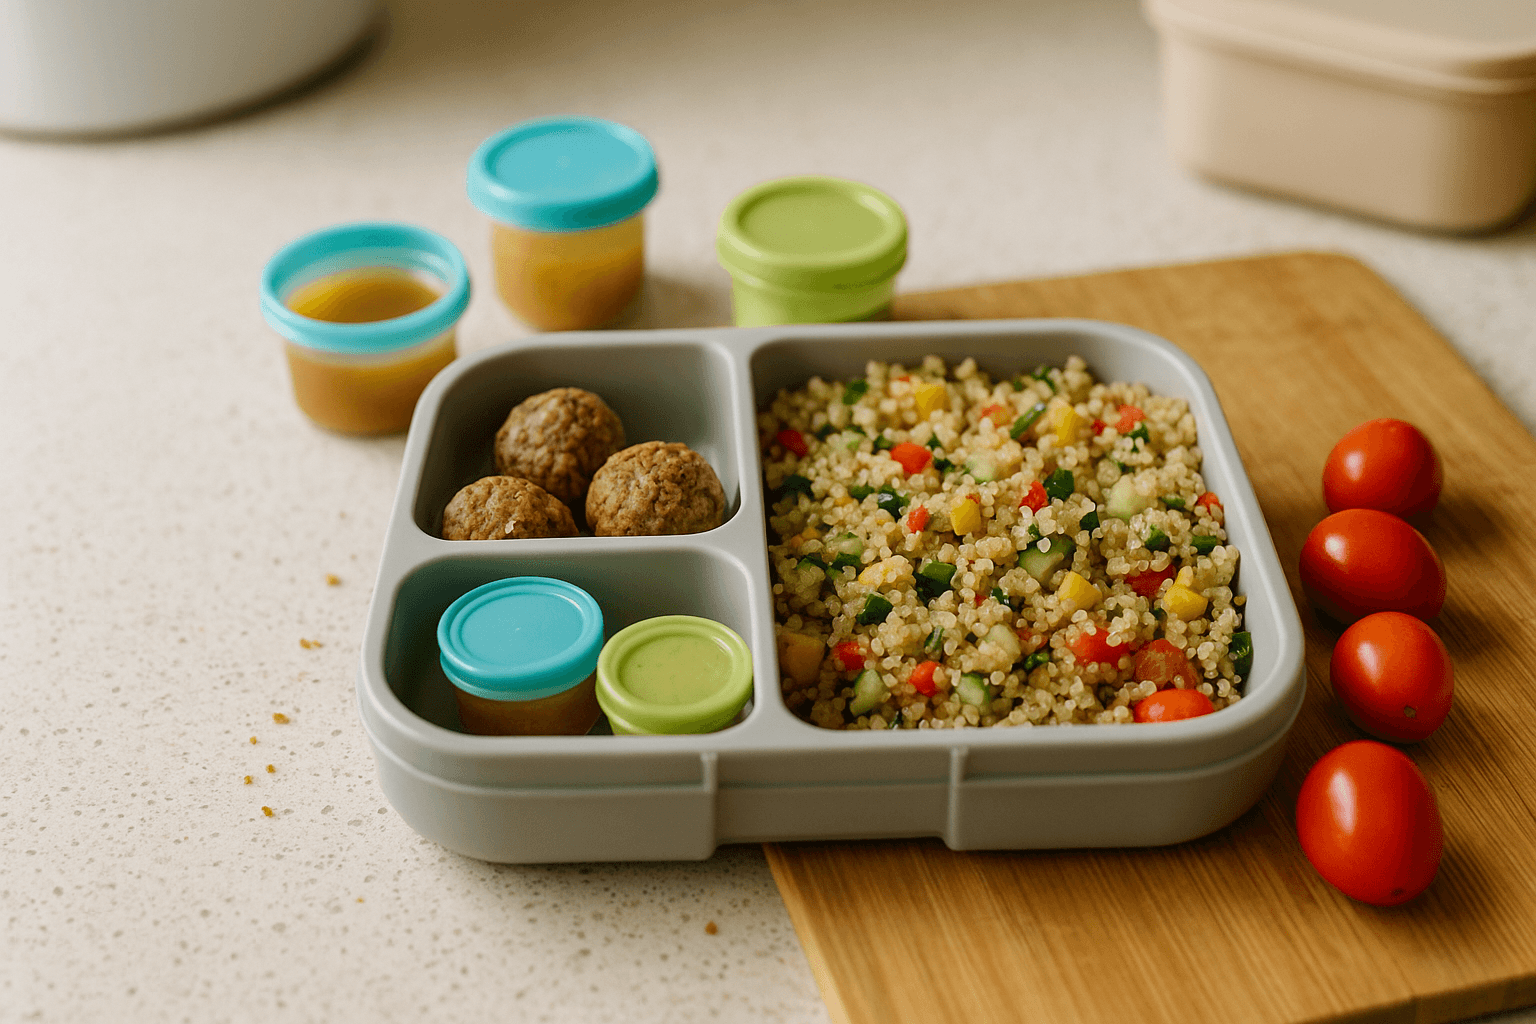
- Monday: Cheese cubes, rice crackers, cherry tomatoes, apple slices
- Tuesday: Mini meatballs, cucumber rounds, grapes, wholemeal crackers
- Wednesday: Hard-boiled egg quarters, carrot sticks, berries, cheese crackers
- Thursday: Chicken pieces, cherry tomatoes, orange segments, rice cakes
- Friday: Ham rolls, cucumber, strawberries, crackers
Sistema Bento or Munchkin Bento Toddler Lunch Box work perfectly for this age group.
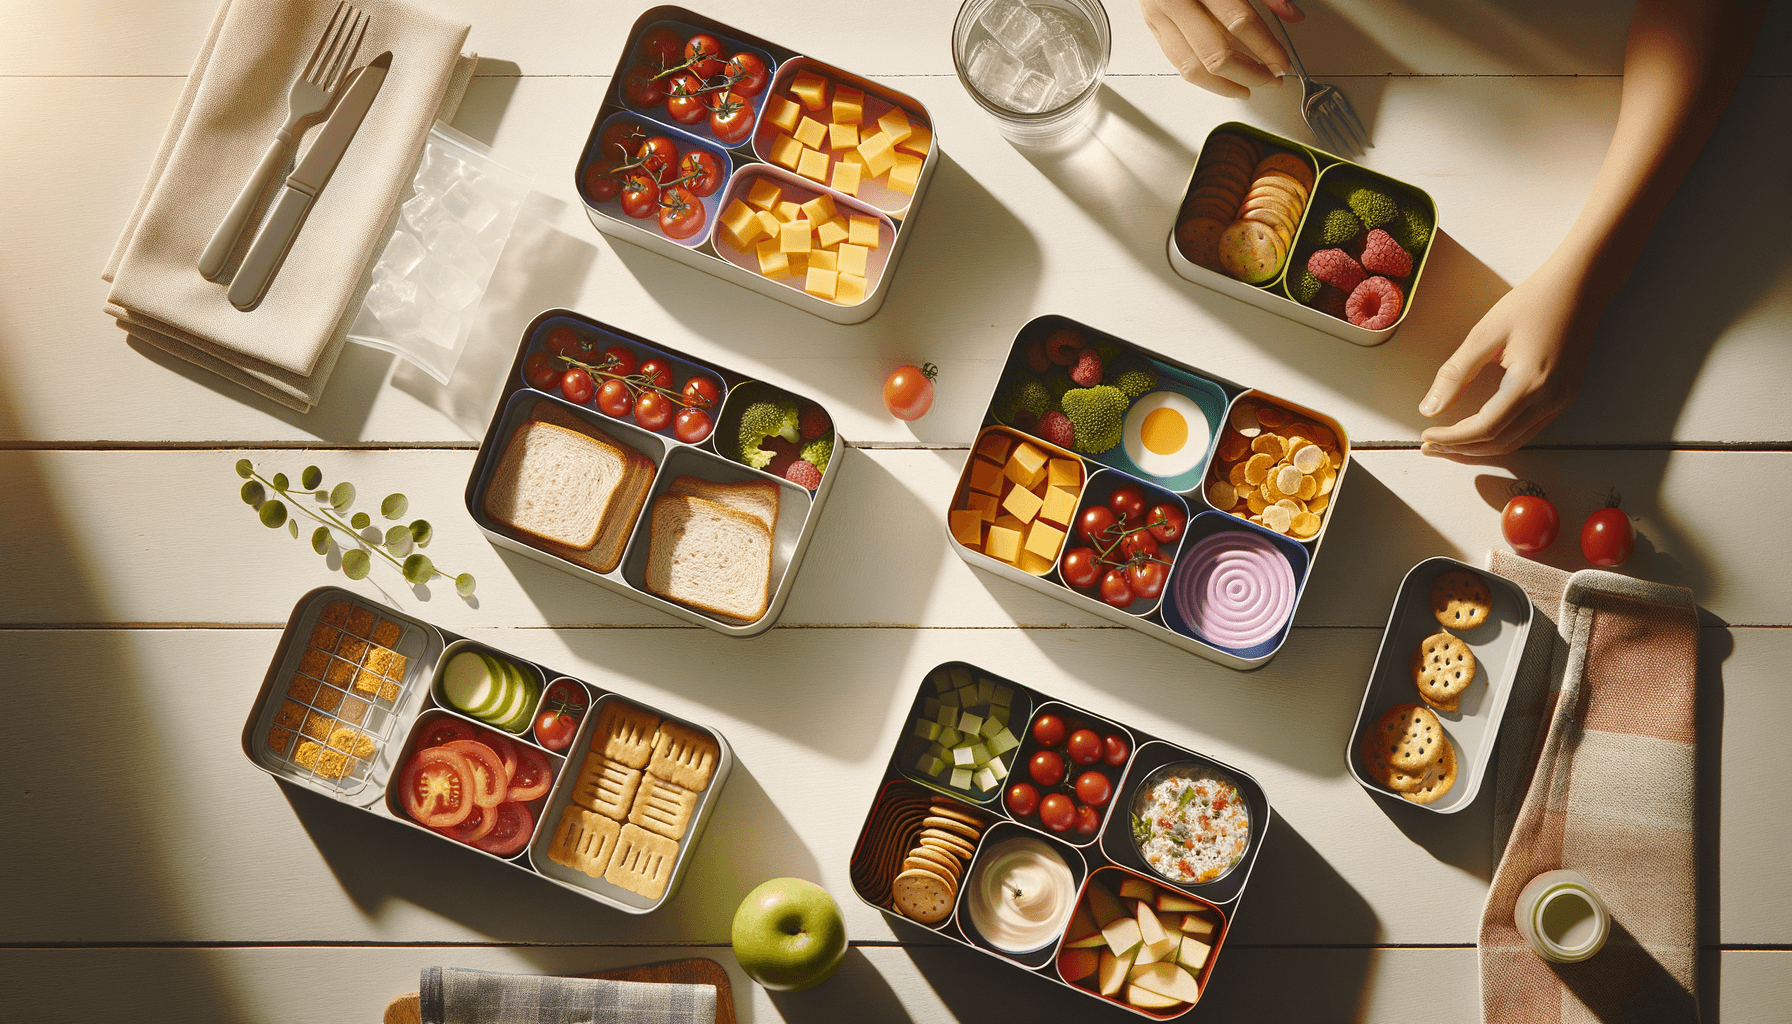
Ages 7-12 (Primary School):
- Monday: Turkey wrap pieces, hummus pot, veggie sticks, fruit salad
- Tuesday: Chicken drumette, cheese and crackers, cherry tomatoes, apple
- Wednesday: Tuna pasta salad, cucumber rounds, grapes, yoghurt
- Thursday: Ham and cheese pinwheels, carrot sticks, orange, nuts
- Friday: Leftover roast beef, crackers, cherry tomatoes, fruit pouch
Ages 13+ (High School): Bigger portions, more protein, and let them take more responsibility for assembly.
For more variety, check out these simple lunchbox ideas that work well with the assembly line method.
Vegetable Strategy: Don't hide vegetables. Make them the easy option. Cherry tomatoes, cucumber rounds, and carrot sticks are naturally kid-friendly shapes. Add a small container of hummus or ranch dip and most kids will eat them.
Look, this system isn't rocket science. It's just applying basic efficiency principles to something you have to do anyway. Thirty minutes on Sunday saves you 50 minutes during the week, plus all that mental energy of daily decision-making.
Start simple. Pick one week and give it a go. Your Monday morning self will thank you when you're grabbing a fully-prepared lunchbox instead of frantically searching for sandwich fillings.
And if it all goes pear-shaped? That's what the backup plan is for. Even a failed batch prep attempt teaches you something for next time.
How useful was this?
Quick school lunch ideas from Melbourne, Australia.
20 lunchbox ideas on one page. Print it, fridge it.
Written by Pat
Dad of two, Melbourne. Half Chinese, raised on incredible food. I make quick school lunches and test every piece of gear before recommending it. No bento art — just real food made with love.