In this article
Look, I get it. Every morning feels like a military operation: kids dragging their feet, uniforms missing, and you're standing in the kitchen wondering how lunch packing became the most stressful part of your day.
After years of chaotic mornings and far too many "just grab a sandwich" disasters, I developed what I call the Assembly Line Method. It's borrowed from manufacturing principles, adapted for the reality of getting three kids fed and out the door.
The result? Five minutes. That's it. From empty lunchboxes to packed and ready.
Why the Assembly Line Method Beats Random Lunch Packing
Here's the thing about Australian parents and lunch prep: we're doing it wrong. Research shows that 90% of Aussie school kids bring home-packed lunches, but we're approaching it like we're cooking a gourmet meal instead of running an efficient operation.
The problem isn't the food – it's the process. Most of us pack lunches one at a time, making decisions on the fly, hunting through the fridge for ingredients, and essentially starting from scratch every morning.
Manufacturing solved this problem decades ago. Assembly lines work because they eliminate decision fatigue, reduce movement, and create repeatable systems. When Ford applied this to car production, they cut assembly time from 12 hours to 93 minutes.
Your kitchen isn't a factory floor, but the principles are the same. Instead of making 47 micro-decisions every morning (What protein? Which fruit? Clean container? Where's the cheese?), you make them once during setup.
With proper weekend prep, my assembly line handles three different lunchboxes in exactly 5 minutes. That's not an estimate – I've timed it with a stopwatch while my 8-year-old counts down.
Setting Up Your 5-Minute Lunch Packing Station
Your workspace determines your speed. Get this wrong, and you'll never hit 5 minutes consistently.
Essential Counter Space Requirements:
- Minimum 1.2 metres of clear bench space
- Within arm's reach of your fridge
- Easy access to sink for any last-minute washing
- Good lighting (you're doing this at 7am, remember)
The Four-Zone Layout:
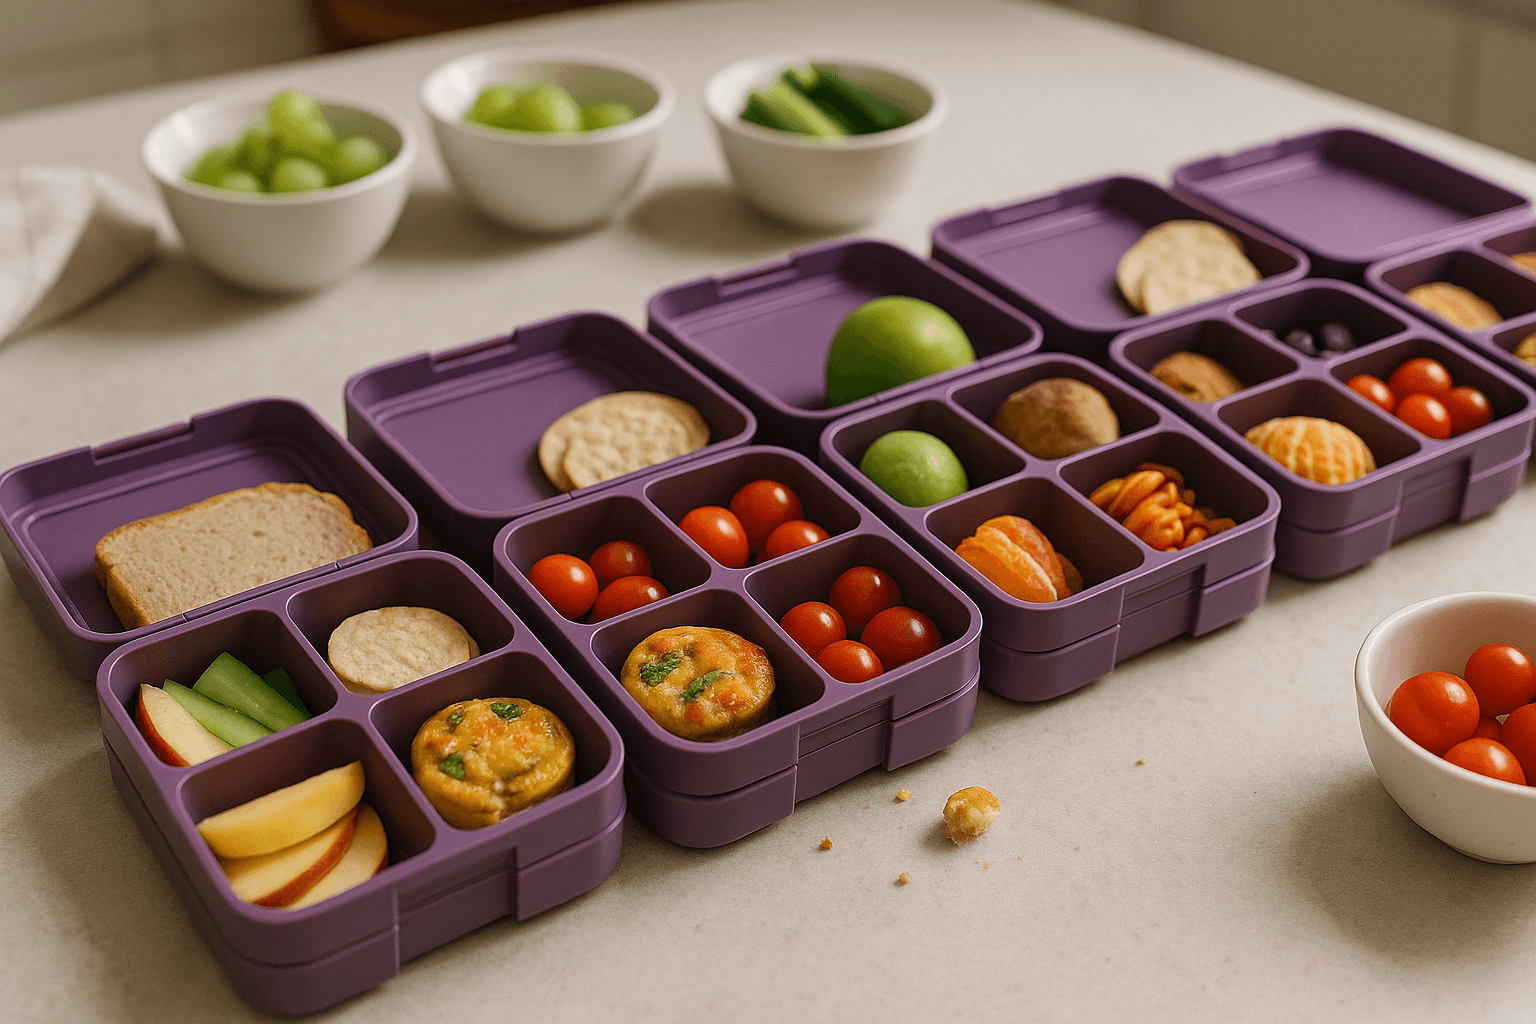
Zone 1: Container Station (far left) All clean lunchboxes lined up, lids off, ready for loading. Ice packs positioned directly behind each box.
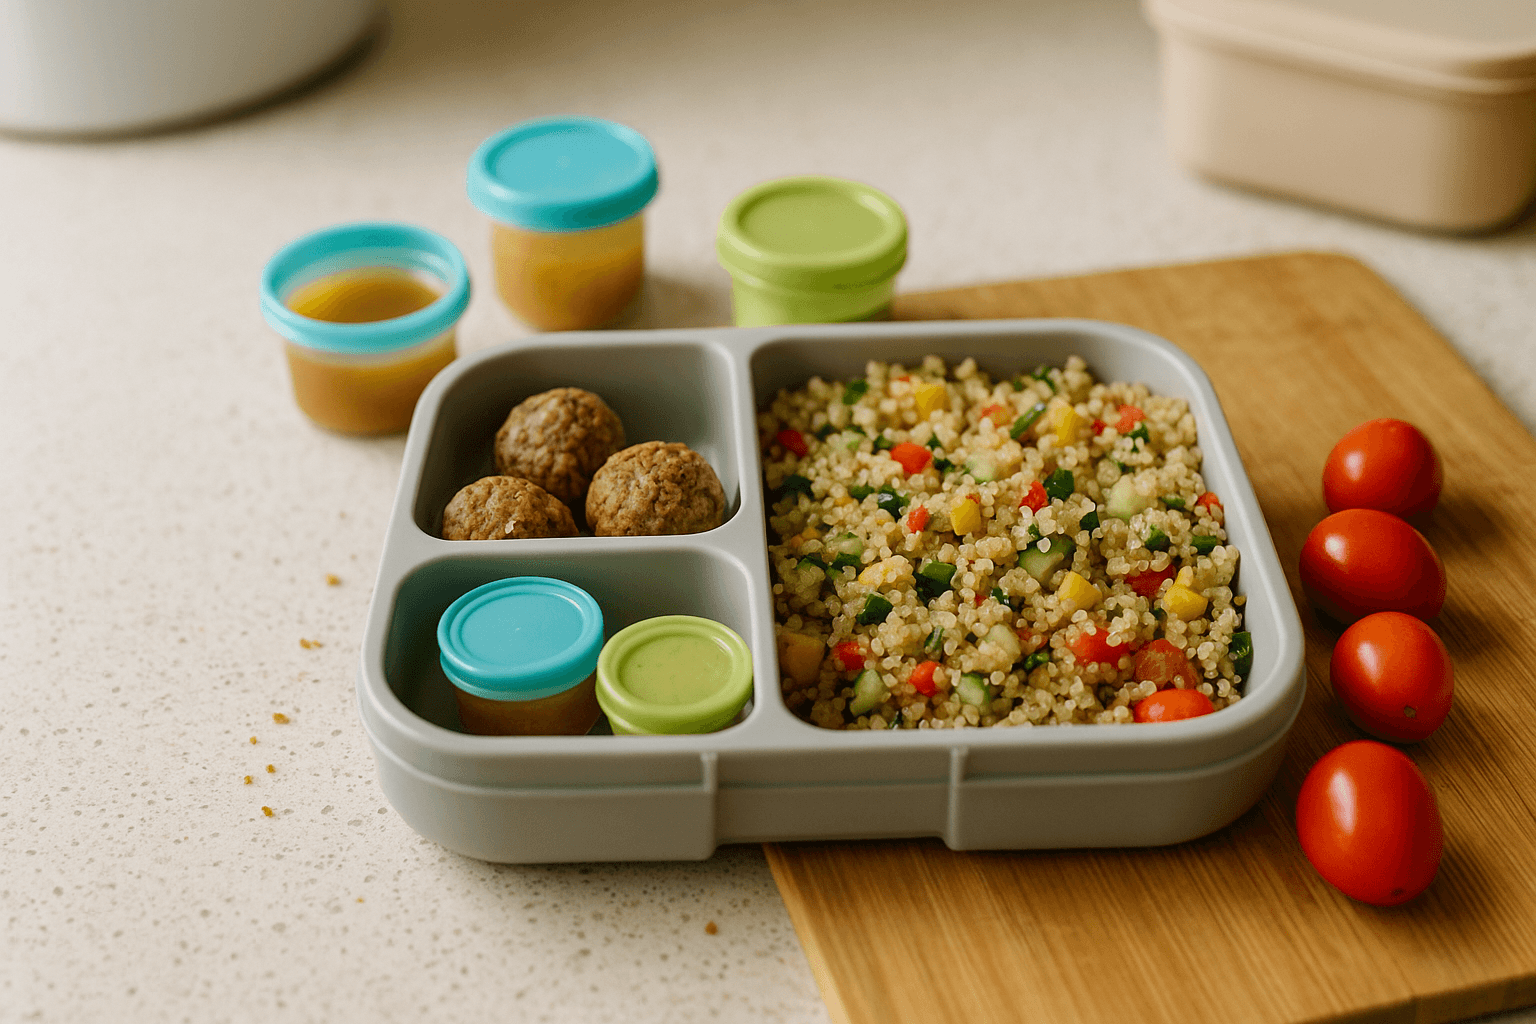
Zone 2: Protein Assembly (centre-left) Pre-portioned proteins in containers, serving spoons ready. This includes leftover meatballs, sliced chicken, cheese portions, hard-boiled eggs.
Zone 3: Carbs and Fillers (centre-right) Sandwich components, crackers, rice portions, pasta salads. Anything that takes up the bulk of the lunchbox.
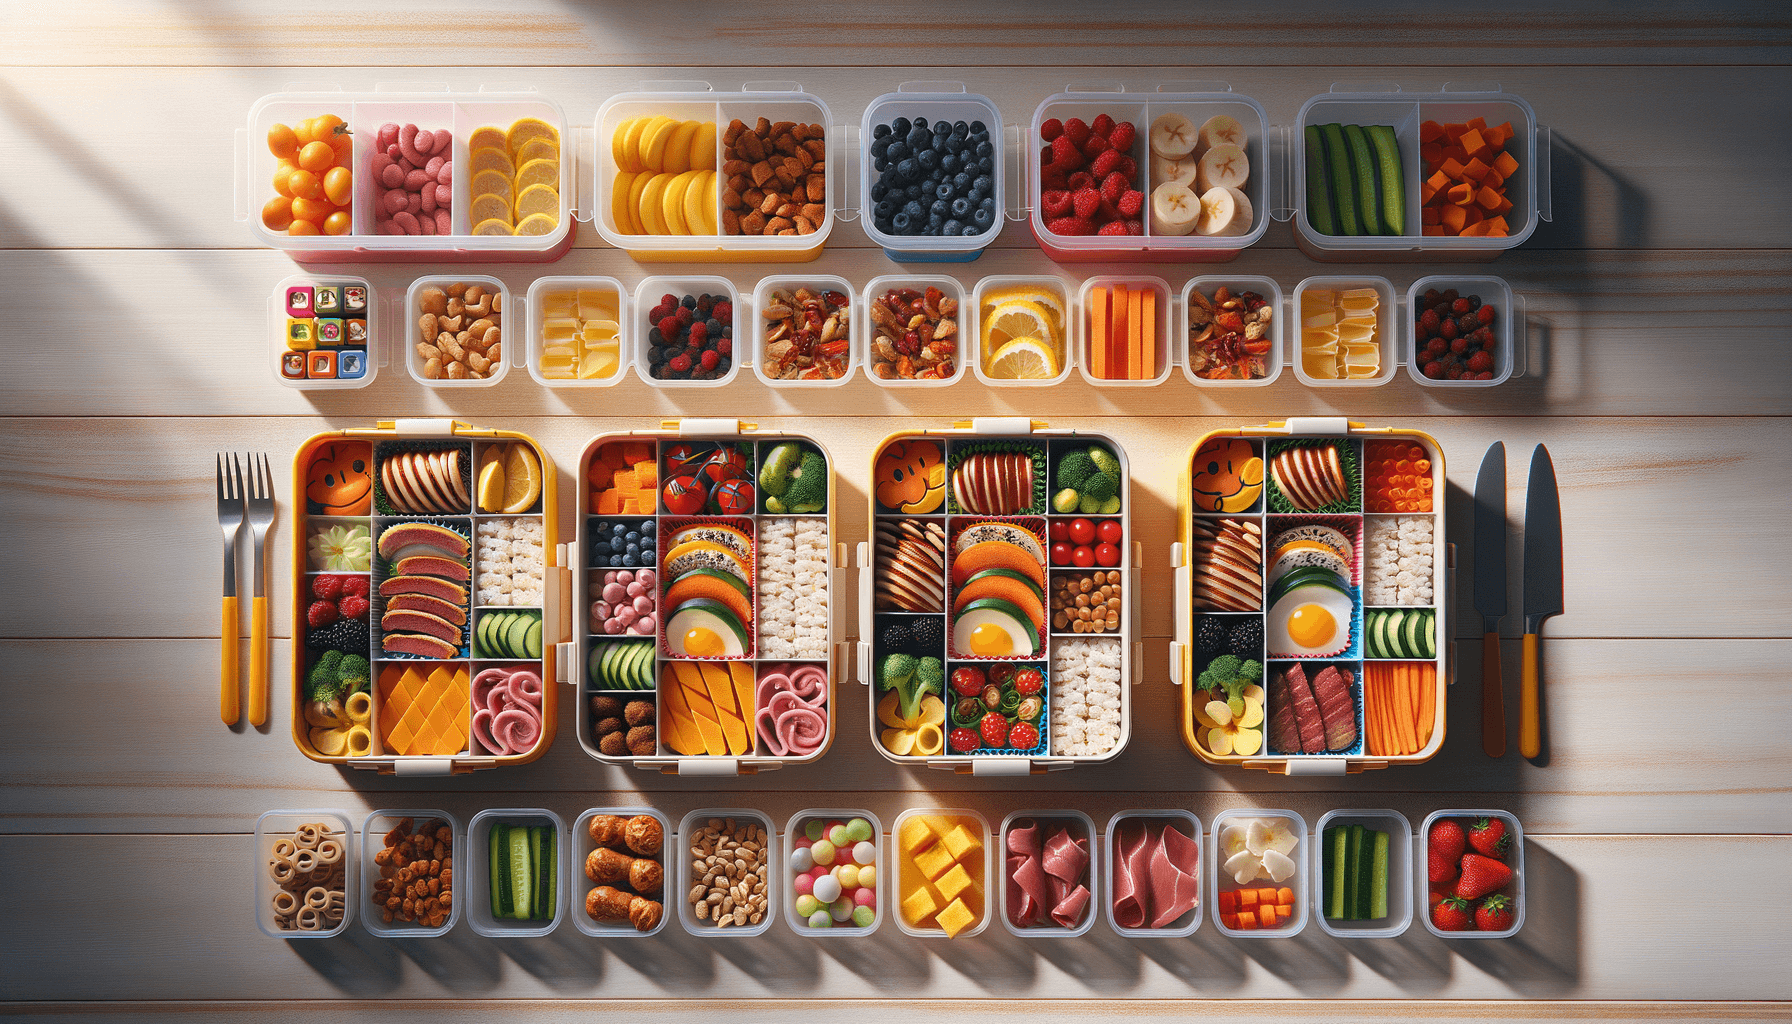
Zone 4: Finishing Station (far right) Fruit portions, veggie sticks, snacks, treats. Small containers and sauce pots go here.
Storage Setup Behind the Assembly Line: Use a Rubbermaid Brilliance Food Storage 10-Piece Set for your prep containers. Stack them in the same order as your assembly line zones. This eliminates the hunting-and-gathering phase that kills your timing.
The 4-Step Assembly Line Process That Actually Works
Here's where the magic happens. Each step flows into the next, no backtracking, no second-guessing.
Step 1: Protein Placement (30 seconds per lunchbox) Move left to right across all lunchboxes. Place proteins first because they're usually the heaviest and determine space allocation.
- Lunchbox 1: 4 mini meatballs
- Lunchbox 2: 2 slices of chicken
- Lunchbox 3: 30g cheese cubes
Total time for three boxes: 90 seconds.
Step 2: Carb Component Assembly (1 minute per box) Still moving left to right. Fill the main compartment of each box.
- Sandwich assembly: bread, spread, filling (if doing sandwiches)
- Or: crackers, rice portions, leftover pasta
This is your longest step, but it's predictable. Three minutes total.
Step 3: Fruit and Veggie Distribution (1 minute) Quick distribution across all boxes. Pre-cut everything during weekend prep.
- Apple slices (pre-cut, stored in lemon water)
- Carrot sticks
- Cherry tomatoes
- Grapes (halved for younger kids)
One minute flat if everything's prepped.
Step 4: Snack and Treat Allocation (30 seconds) Final pass, adding snacks and closing boxes.
- Small container of nuts
- Homemade muesli bar piece
- Maybe a small biscuit if it's been a tough week
Lids on, ice packs in, done. Total elapsed time: 5 minutes, 30 seconds on a slow day.
Essential Equipment: Containers That Make or Break Speed
I've tested dozens of lunchbox systems, and container choice genuinely affects your assembly time. Here's what actually works:
Best Overall: Sistema Bento Lunch Box Fixed compartments eliminate the "where does this go?" decision. The protein compartment is perfectly sized for meatballs or chicken pieces. Fruit compartment handles apple slices without crushing.
Pros: Reliable seal, dishwasher safe, compartments sized for real portions Cons: Limited flexibility if you want to pack larger items
Runner-up: Yumbox Original More expensive but incredibly well-designed. The compartments are sized based on nutritional guidelines, which takes the guesswork out of portions.
Pros: Leak-proof between compartments, beautiful design kids love Cons: Price point, replacement parts can be tricky
Ice Pack System: Bentgo Reusable Ice Packs (4-pack) are thin enough to fit in most lunchbox lids without taking up food space. Freeze 6-8 at a time so you're never caught short.
Why Compartments Matter for Speed: Compartmentalised boxes eliminate the need for separate containers, snap-lid decisions, and the inevitable "will this fit?" puzzle. You grab, portion, move on.
For a comprehensive breakdown of options, check out our detailed lunchbox comparison guide.
Weekend Prep: Building Your Lunch Component Library
The assembly line only works if you've got components ready to assemble. Sunday afternoon is your friend here.
90-Minute Weekend Prep Timeline:
Minutes 0-30: Protein Batch Cook
- Make a batch of lunch-friendly meatballs (freeze half)
- Hard-boil 8 eggs
- Cook 2 chicken breasts, slice and portion
- Portion cheese into 30g servings
Minutes 30-60: Fruit and Veggie Prep
- Wash and cut 5 days worth of carrot sticks
- Slice 3 apples, store in lemon water
- Portion grapes into small containers
- Wash cherry tomatoes, remove stems
Minutes 60-90: Carb and Snack Prep
- Make sandwich spread portions in Sistema To Go Dressing Pot 4-Pack
- Portion crackers into weekly serves
- Bake a batch of muesli bars, slice and wrap
- Cook extra rice/pasta for the week
Dinner Leftover Integration: This is where the system gets really efficient. Cook with lunch in mind:
- Monday's roast chicken becomes Tuesday's lunch protein
- Wednesday's pasta makes Thursday's pasta salad
- Friday's meatballs become next week's lunch heroes
For more comprehensive batch cooking strategies, our batch cooking guide covers 25 freezer-friendly options that slot perfectly into this system.
Getting Kids Involved Without Slowing Down the System
Kids can help without destroying your 5-minute target, but you need age-appropriate roles and clear boundaries.
Ages 4-6: Quality Control Station Position them at the end of your assembly line. Their job:
- Check lids are properly sealed
- Add napkins to lunchboxes
- Match lunchboxes to school bags
Ages 7-9: Zone Ownership Give them ownership of Zone 4 (finishing station). They handle:
- Fruit distribution
- Snack allocation
- Small container management
Ages 10-12: Full Assembly Line Partner They can run a parallel assembly line for their own lunch plus younger siblings.
The Key Rule: Never let kids make decisions during assembly time. All choices happen during weekend prep or the night before. Morning is execution only.
For kids who want more control over their lunch contents, our DIY bento assembly approach gives them ownership while maintaining efficiency.
Troubleshooting Common Assembly Line Problems
"My Kids Reject Assembly Line Lunches" Usually means they feel like they've lost control. Solution: involve them in weekend prep decisions, not morning execution. Let them choose between two pre-prepped protein options.
Dietary Restrictions and Allergies Create separate prep containers clearly labelled. Use different coloured lids or tape systems. Never rely on memory when dealing with allergies.
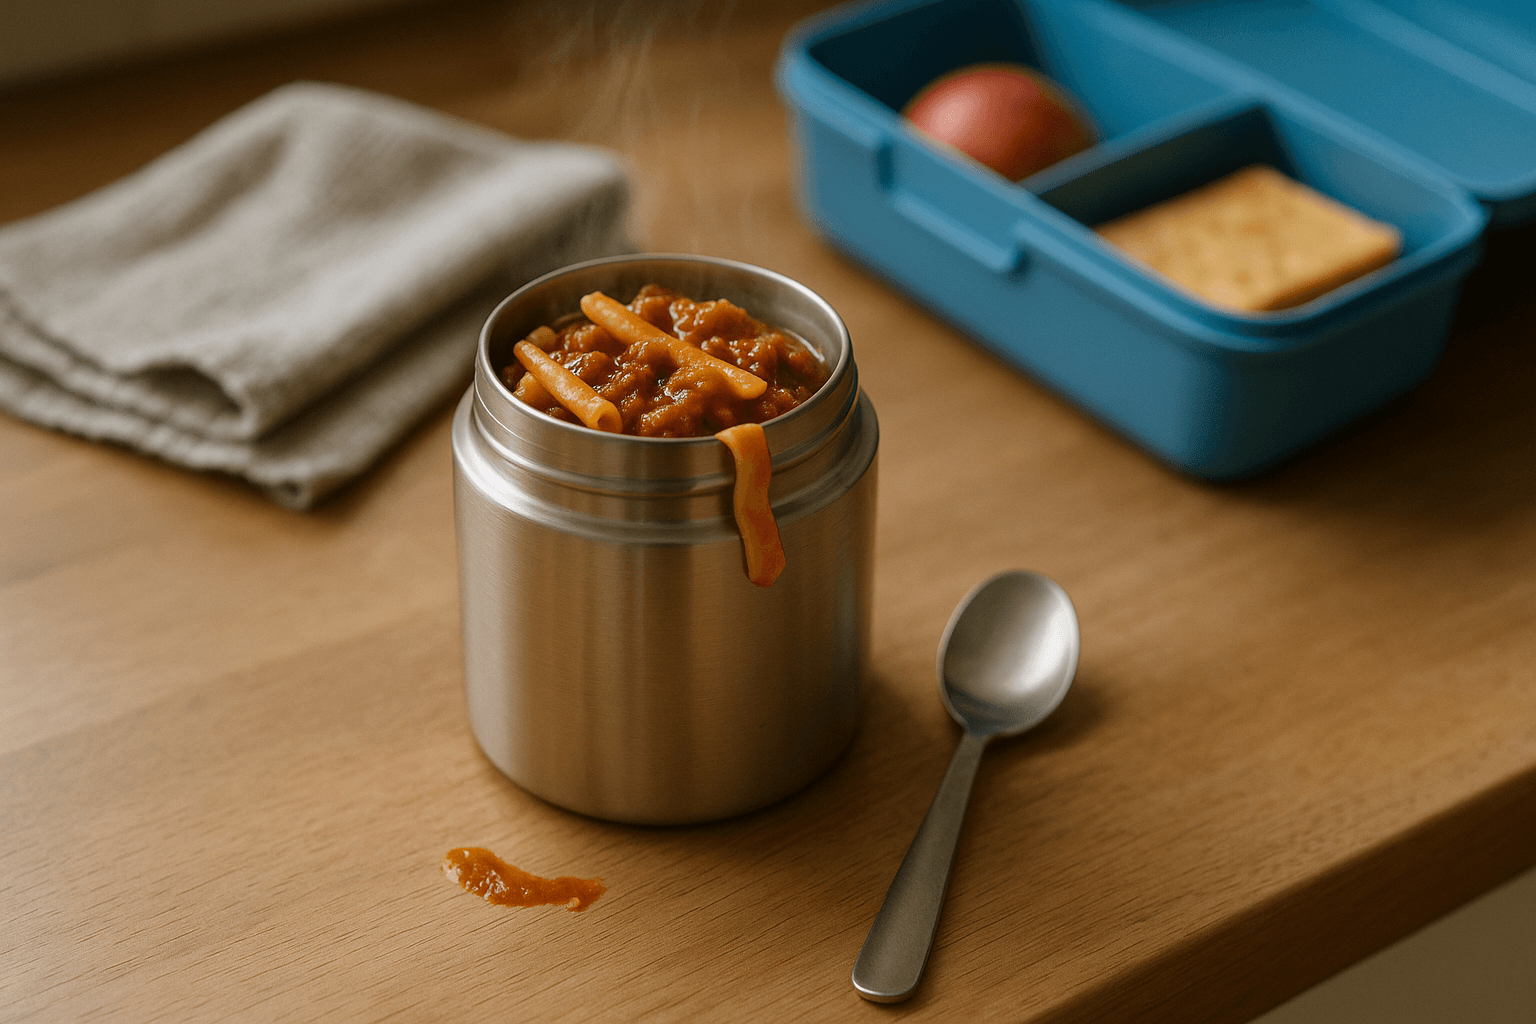
Seasonal Variations Summer: Focus on foods that handle heat well, increase fruit portions Winter: Add warm options in thermos containers, hearty proteins Rotate your weekend prep menu every 4 weeks to prevent boredom.
Equipment Failures Always have backup containers clean and ready. If your main lunchbox breaks, a simple plastic container with separate small containers works fine.
Multiple Kids, Different Needs Scale horizontally, not vertically. Set up separate assembly lines rather than trying to customise each box individually. It's faster to make two different types of lunch simultaneously than to customise every element.
Keeping the System Fresh Every month, introduce one new component. Maybe it's a different protein, a new fruit, or a homemade snack. Change one element at a time so the system stays familiar but doesn't get boring.
The assembly line method isn't about perfect nutrition or Instagram-worthy presentations. It's about getting decent, varied lunches packed efficiently so you can focus on the bigger challenges of parenting.
Five minutes. Every morning. That's the promise, and with proper setup, it's absolutely achievable.
For specific food ideas that work perfectly in this system, check out our 5-minute lunch ideas that integrate seamlessly with the assembly line approach.
How useful was this?
Quick school lunch ideas from Melbourne, Australia.
20 lunchbox ideas on one page. Print it, fridge it.
Written by Pat
Dad of two, Melbourne. Half Chinese, raised on incredible food. I make quick school lunches and test every piece of gear before recommending it. No bento art — just real food made with love.